Git Snippets
Git Snippets allows you to include pieces of code from your Git repository into Confluence pages.
Bitbucket Server Requirements
Git Snippets requires an Application Link or an Access Token in order to work with Bitbucket Server. Note: If both an Application Link and an Access Token are configured for a Bitbucket Server instance, your users will be able to choose between the two in the Git Snippets macro.
Application Link
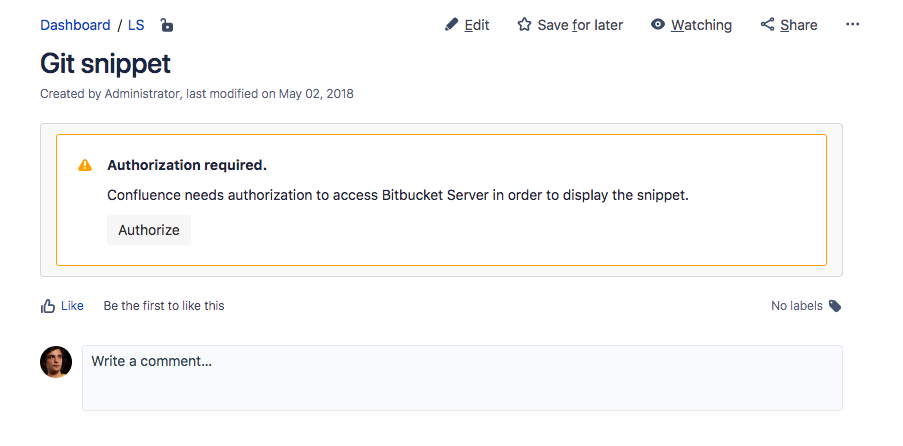
Go to the Confluence Administration → Application Links and follow the Documentation to create an Application Link to Bitbucket. After that, the users will get a one-time authorization message when they want to see or add a Git snippet if they haven't authorized Bitbucket yet.

Access Token
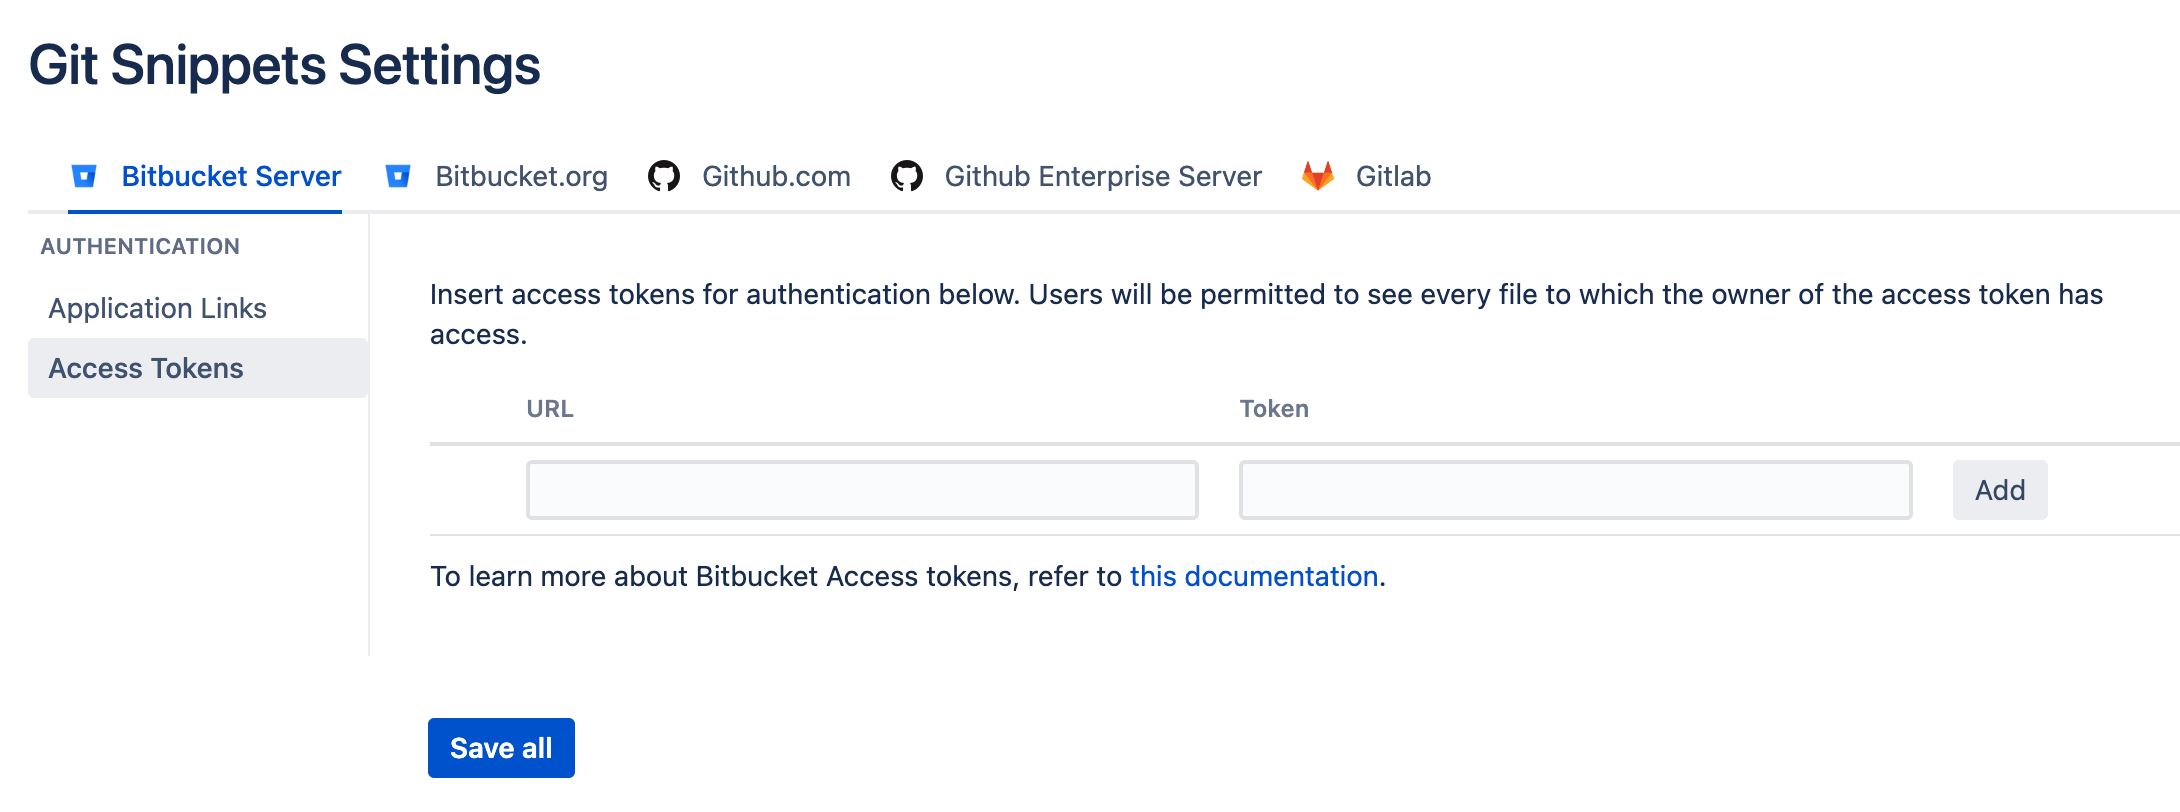
If you can't create an Application Link to your Bitbucket Server instance, or want to make Git Snippets available for anonymous users, you can also configure a Bitbucket Server access token. To make Git Snippets use a such a token, you need to go to your Bitbucket instance Manage Account → Personal Access Tokens and create one. Then go to Confluence Administration → Git Snippets Settings and insert your token together with the address of your Bitbucket Server instance.
Bitbucket Cloud Requirements
No steps are required to use public repositories from bitbucket.org.
For private repositories you need to add a Bitbucket username and app password. Log in to bitbucket.org and go to Settings → App Passwords. Create a new password and check the Read permission for repositories.
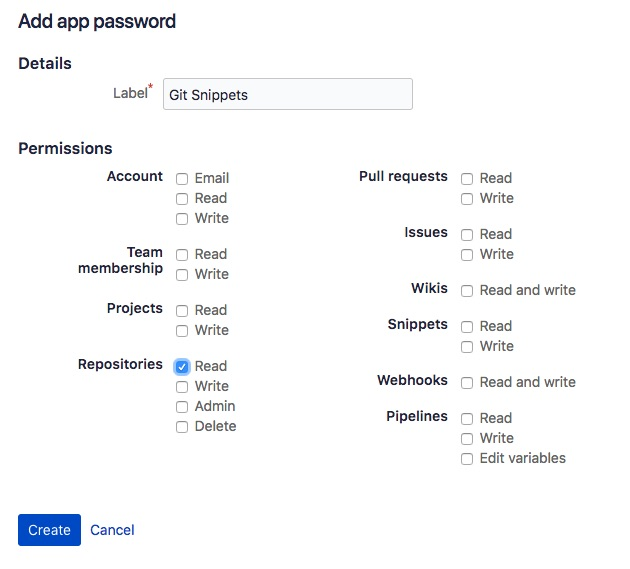
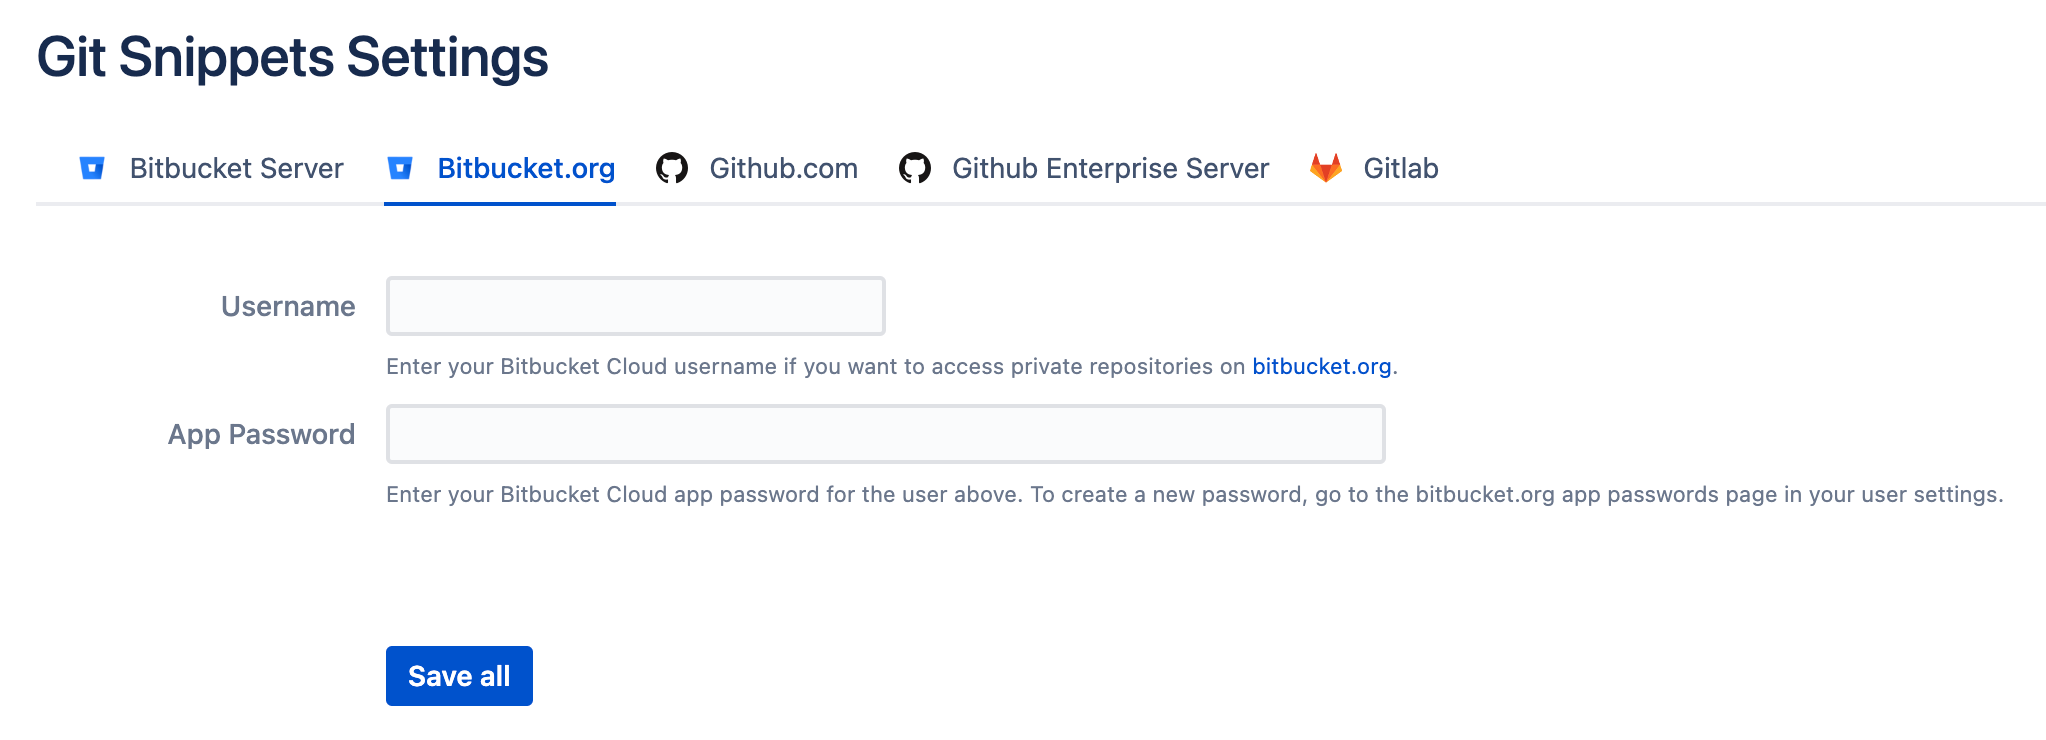
Copy the generated password and go to Confluence Administration → Git Snippets Settings and insert your username and app password in the Bitbucket.org section.
Github requirements
In order for Git Snippets to work with Github, you need a Github account with which the Git Snippets macro will make the requests to get the code from Github. Git Snippets will need a personal access token, you can create with your Github account. Then go to Confluence Administration → Git Snippets Settings and insert your token.

Github Enterprise Server requirements
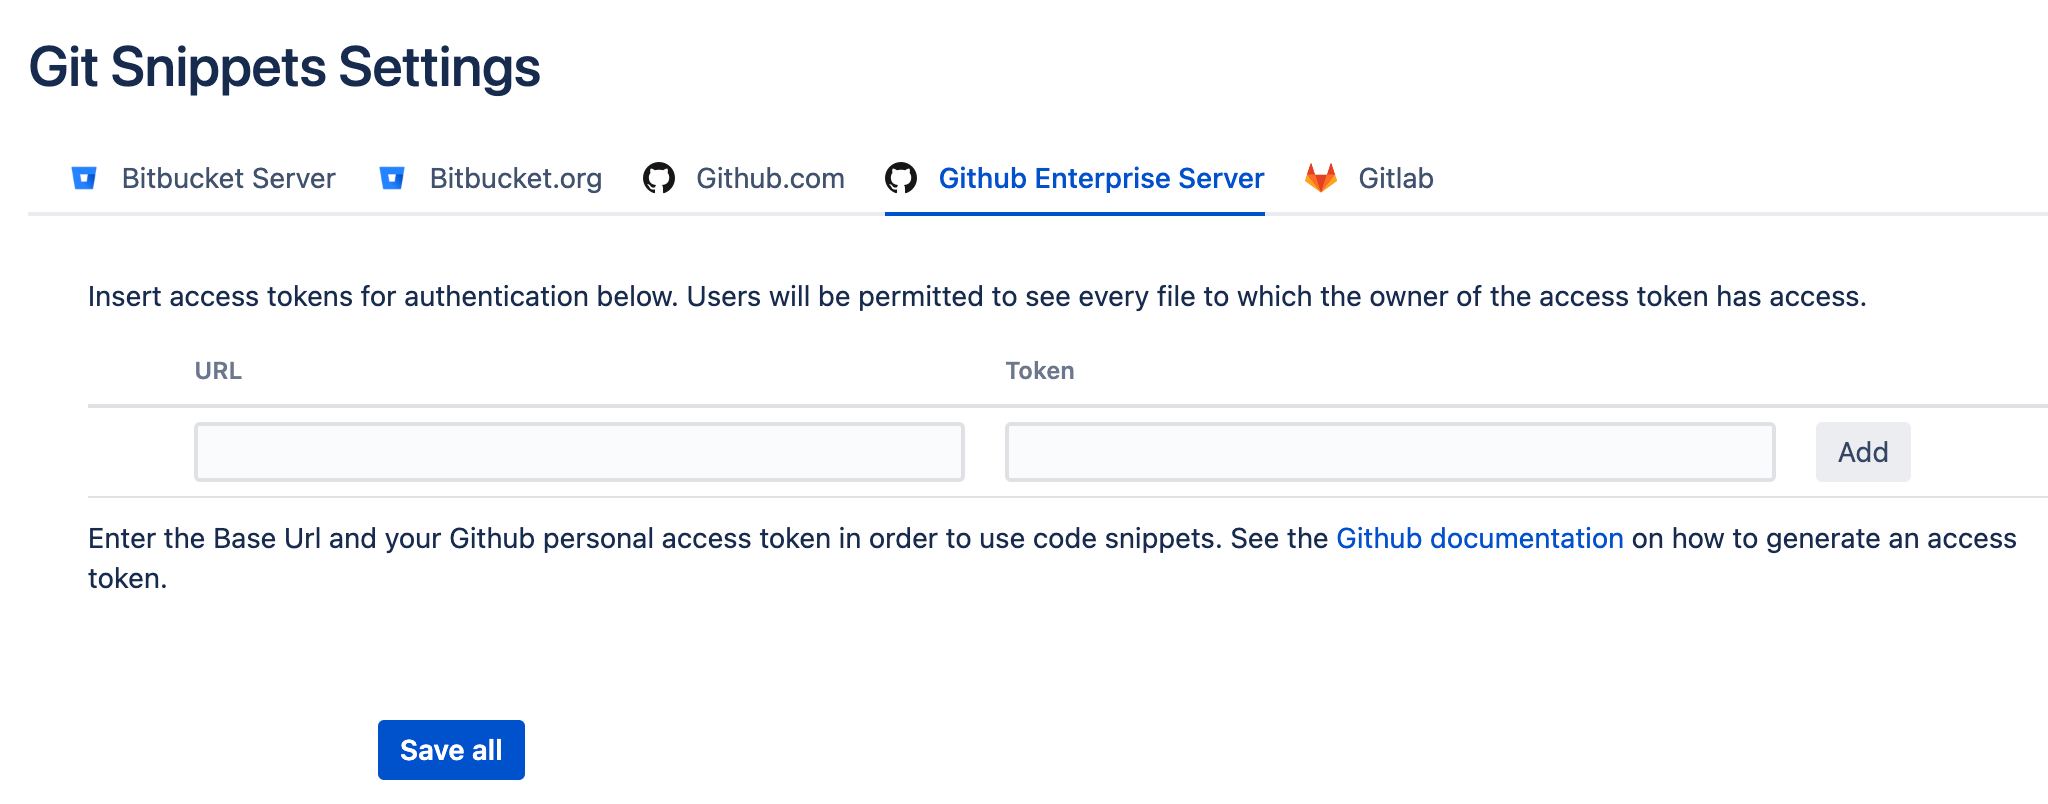
For Github Enterprise Server, you’ll need to provide the base URL to your system and an associated access token. To generate an access token, go to Profile → Settings → Developer Settings and generate a new token. The scope repo:status will be sufficient. Support for Github Enterprise Server is relatively new, so please don’t hesitate to reach out if you experience any issues.
Gitlab requirements
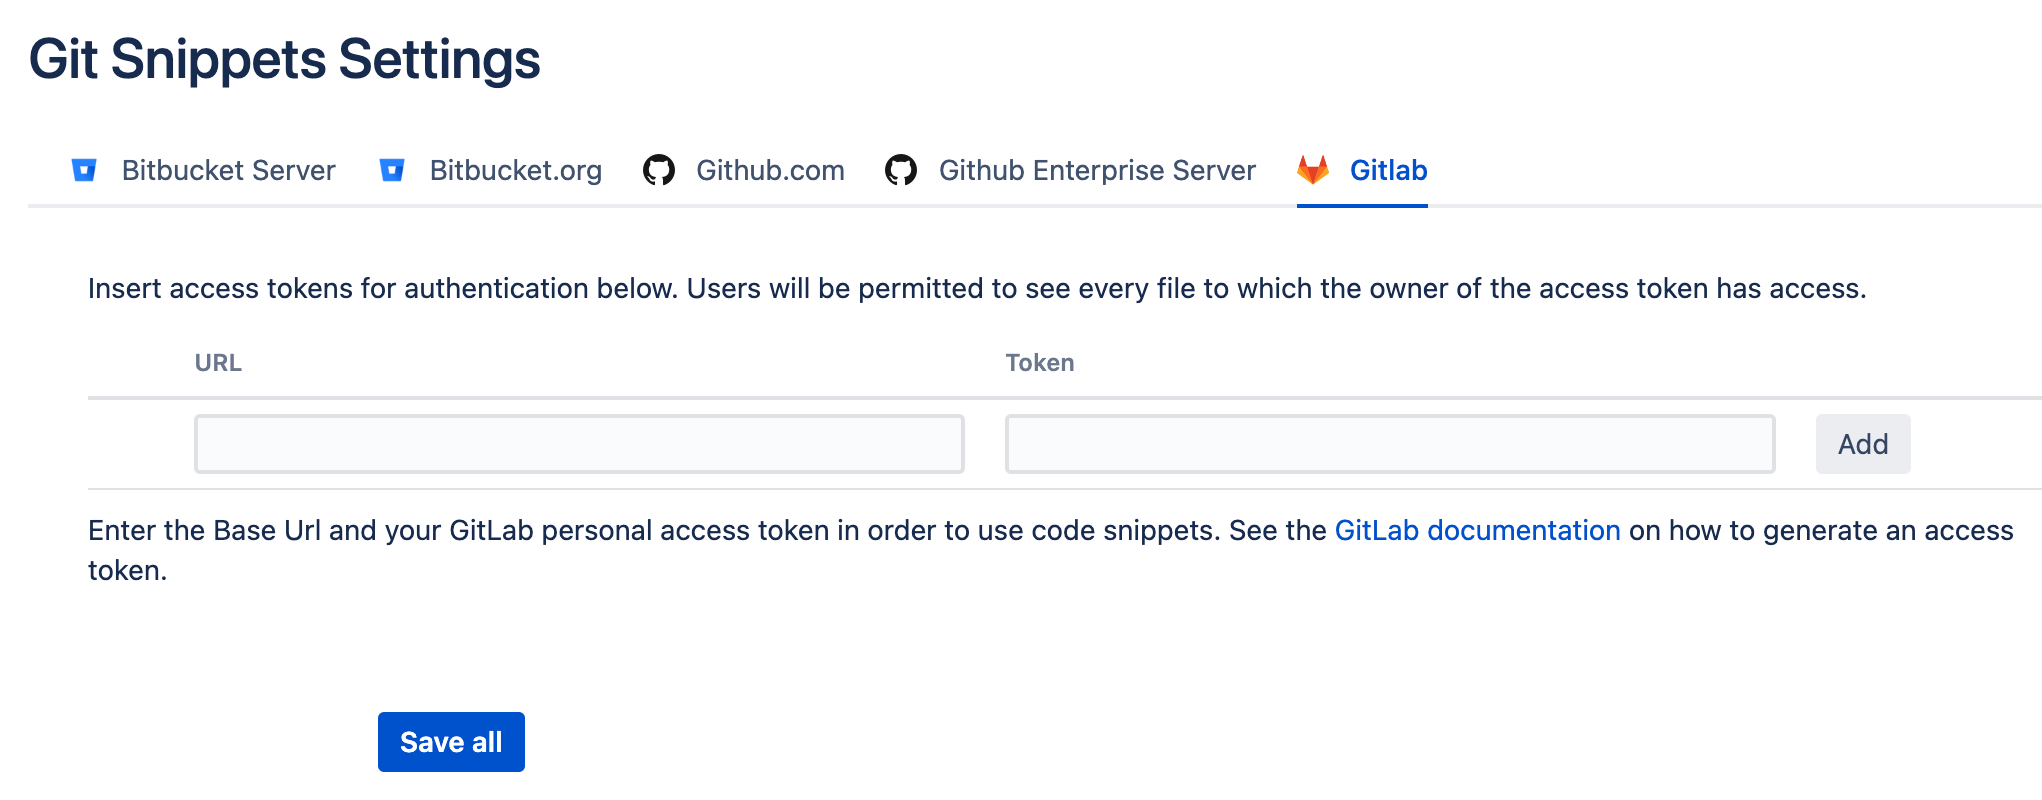
You can use Git Snippets with both Cloud and on-premise version of Gitlab. All you need to do is obtaining an access token that will be used to authenticate all Confluence requests (only read permissions are required). Then go to Confluence Administration → Git Snippets Settings and insert your Gitlab URL and the token.
Git snippet macro
With the Git snippet macro, you can insert code from Bitbucket Server or Github into a Confluence page.
Inserting a snippet
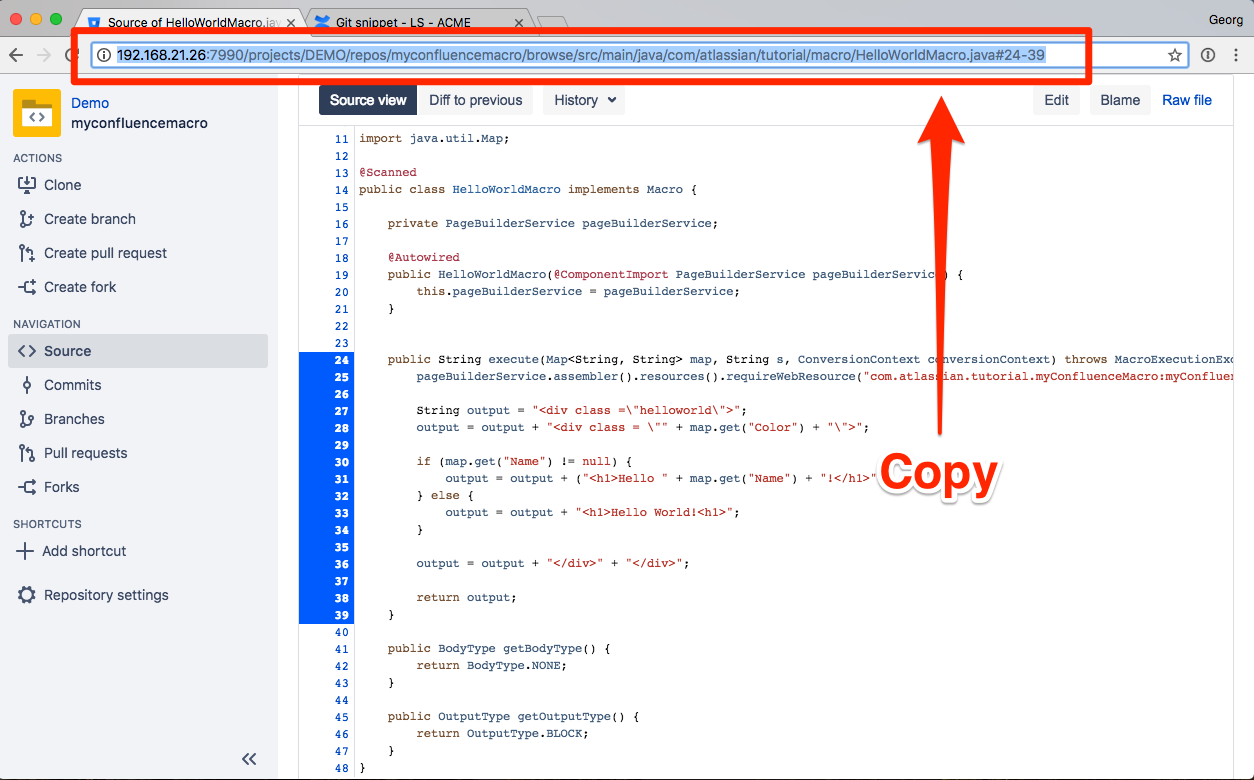
To add a snippet, browse to a file on the web frontend of Bitbucket Server or Github, select the lines you want to display in Confluence (if you don't select the lines, the whole file will be displayed) and copy the URL.
Then go to a Confluence page, add the Git snippet macro and paste the URL you just copied.
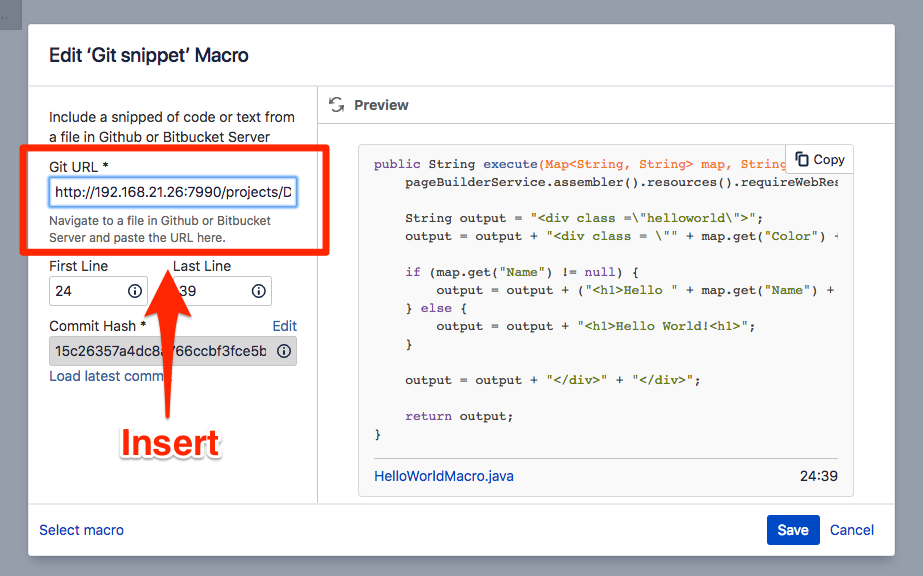
You should now see the selected code as a snippet in the macro preview. Click Save to insert the macro.
Updating the line numbers
The line numbers will be extracted automatically from the URL, but you can change them afterwards at any time.
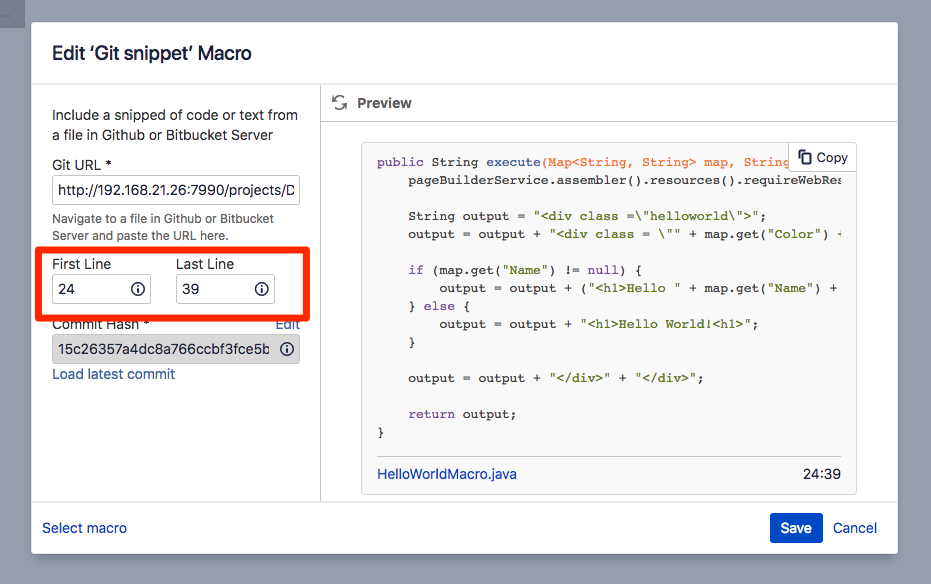
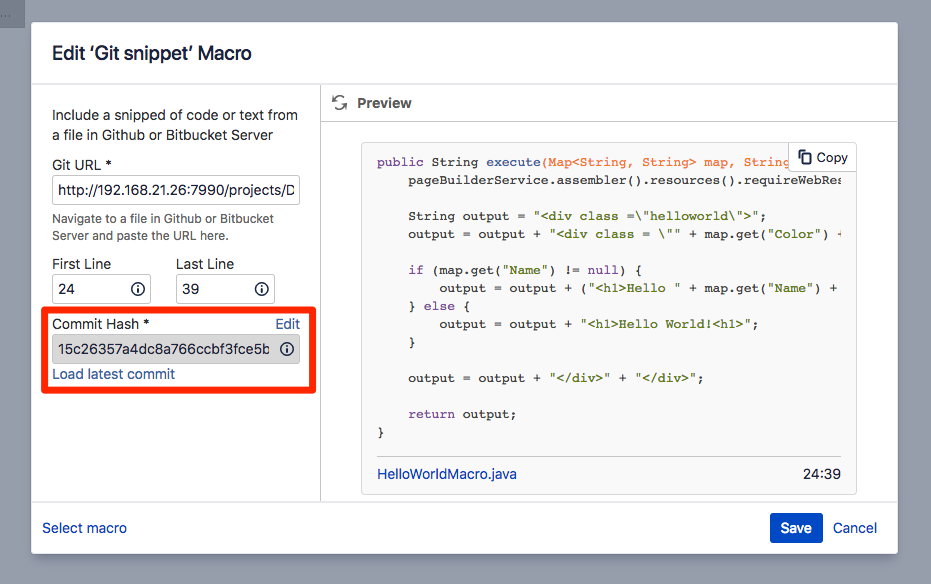
Updating the commit hash
The commit hash is automatically inserted when you paste a URL. When the code changes in the repository, the commit hash will differ from the one stored in the macro and Git snippets will try to show the correct snippet, even though the line numbers might have changed. You can update to the latest commit by clicking “Load latest commit”.
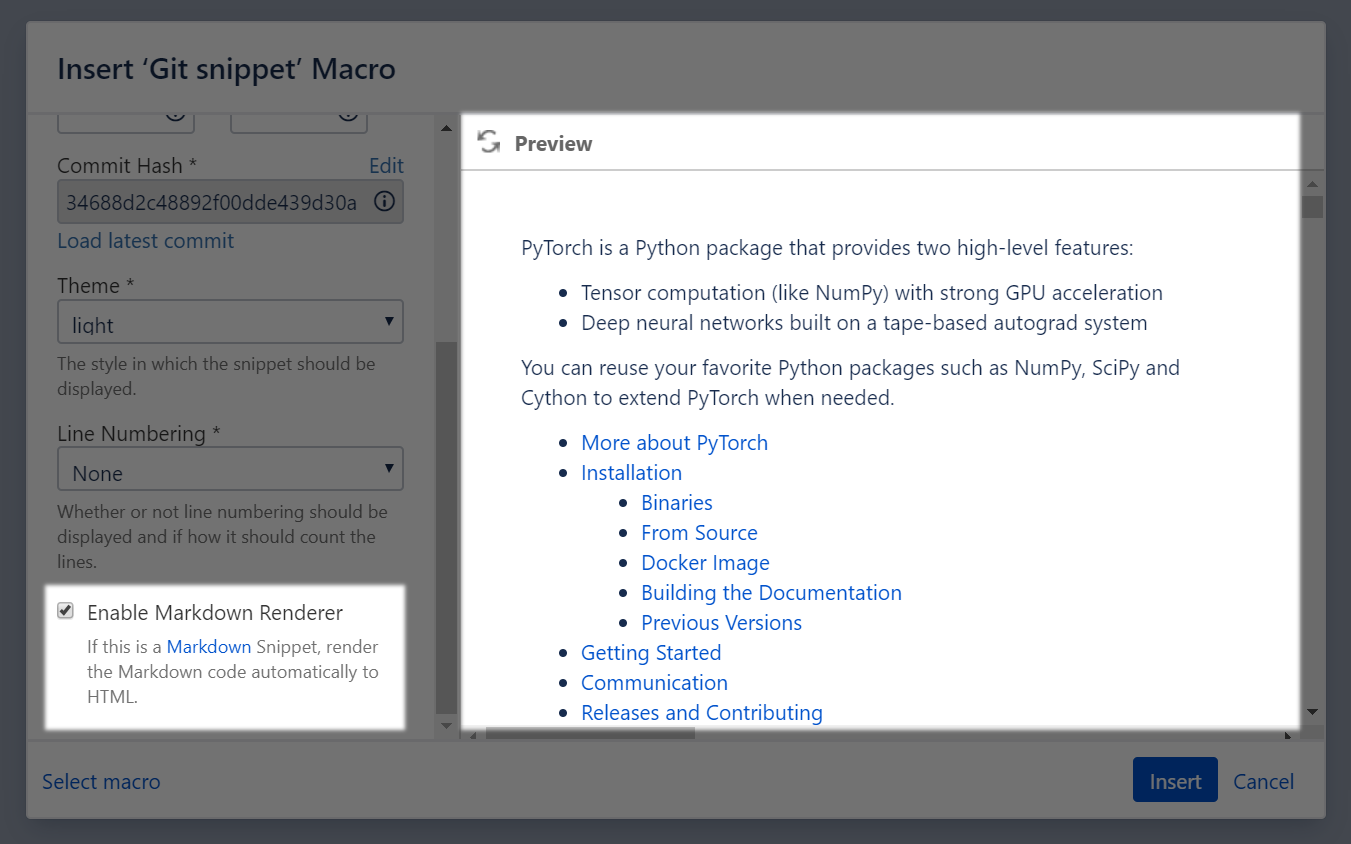
Enabling the Markdown Renderer
If the snippet you are including is a Markdown file, you can choose to render it directly as HTML instead of displaying the Markdown as a code block. Settings like “Theme” and “Line Numbering” will affect the code blocks that are generated from that snippet.
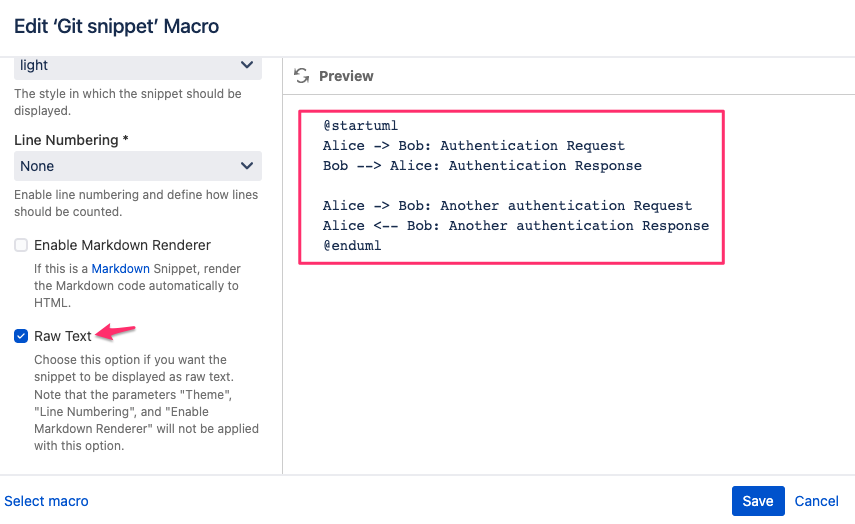
Rendering snippets as raw text
If you want to render your snippet as raw/plain text, you can enable the “Raw Text” macro parameter. This will render the snippet as text within a <pre> tag, without any additional markup applied. This can be useful in particular if you want to use your snippet as input for other macros. In such a scenario, you would nest the Git Snippets macro inside another macro.
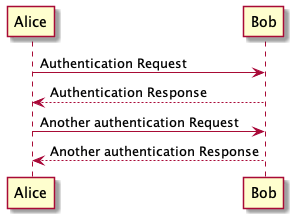
For example, a snippet could be used to render UML diagrams using PlantUML for Confluence and its “PlantUML Render” macro.

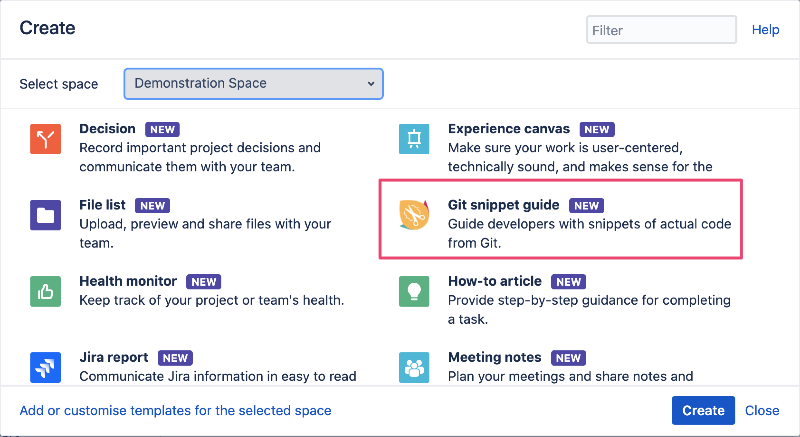
Git snippet guide blueprint
With the Git snippet guide blueprint, you can create step-by-step guides with Git snippet macros.
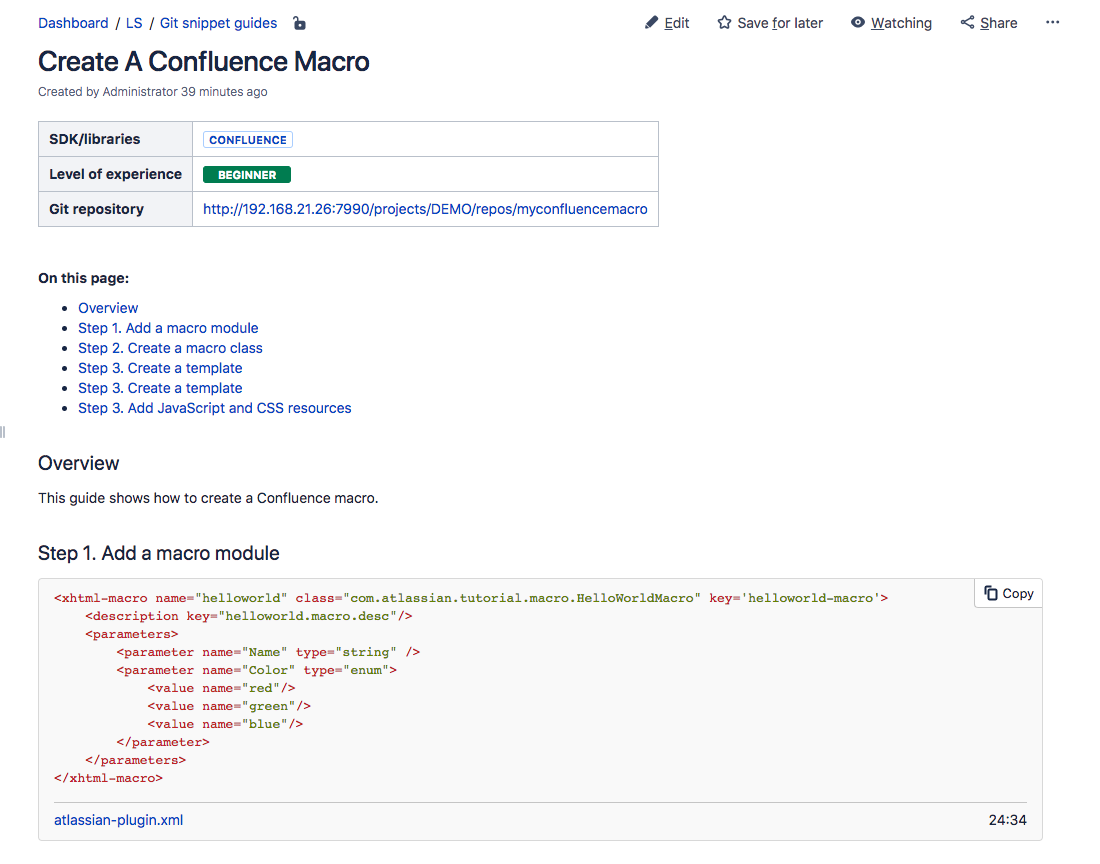
For example, you can use real code to document how to create a Confluence macro by pointing out the necessary steps like updating the plugin XML, creating a class, etc.
Limitations
Git Snippets currently does not support GitLab Snippets, only files from within a GitLab Git repository can be used.
Useful links
Our Service Desk is the best way to reach us if you have problems or would like to suggest a new feature.
Contact us by email via support@livelyapps.com.
Have a look at our other apps and discover more helpful tools
