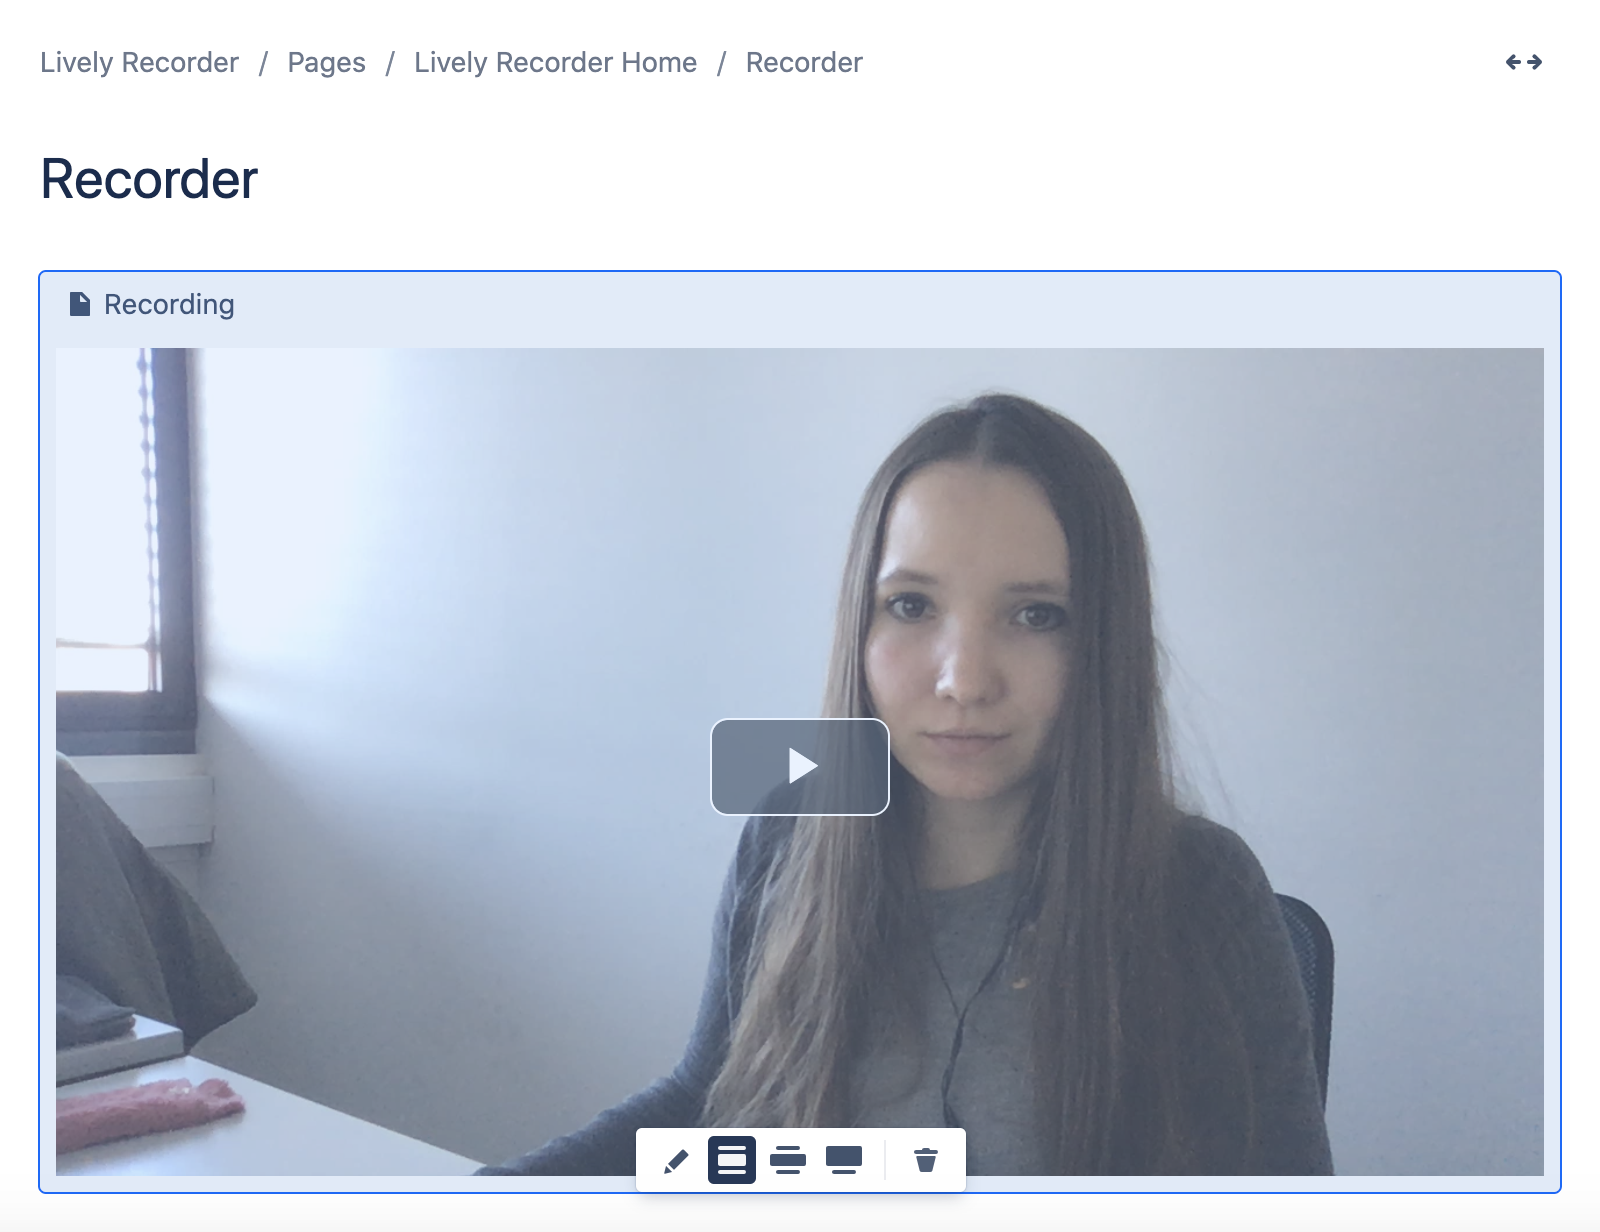
Camera recording
Camera recordings are simply a video captures from your web camera. The following guide provides a step-by-step tutorial on how to set up the Recorder to be able to create a recording from your camera.
Please, note that examples are created on macOS. On Windows and Linux, screens might look slightly different.
Camera configuration
In the following section, you can find a tutorial on how to set up your camera so the recorder can access it. The configuration is dependent on the browser you use. If you cannot access recording devices from your browser at all, refer Microphone and camera usage permissions.
Chrome
When you create a camera recording for the first time, your browser might block the access. However, you should see a popup window that allows you to enable it.
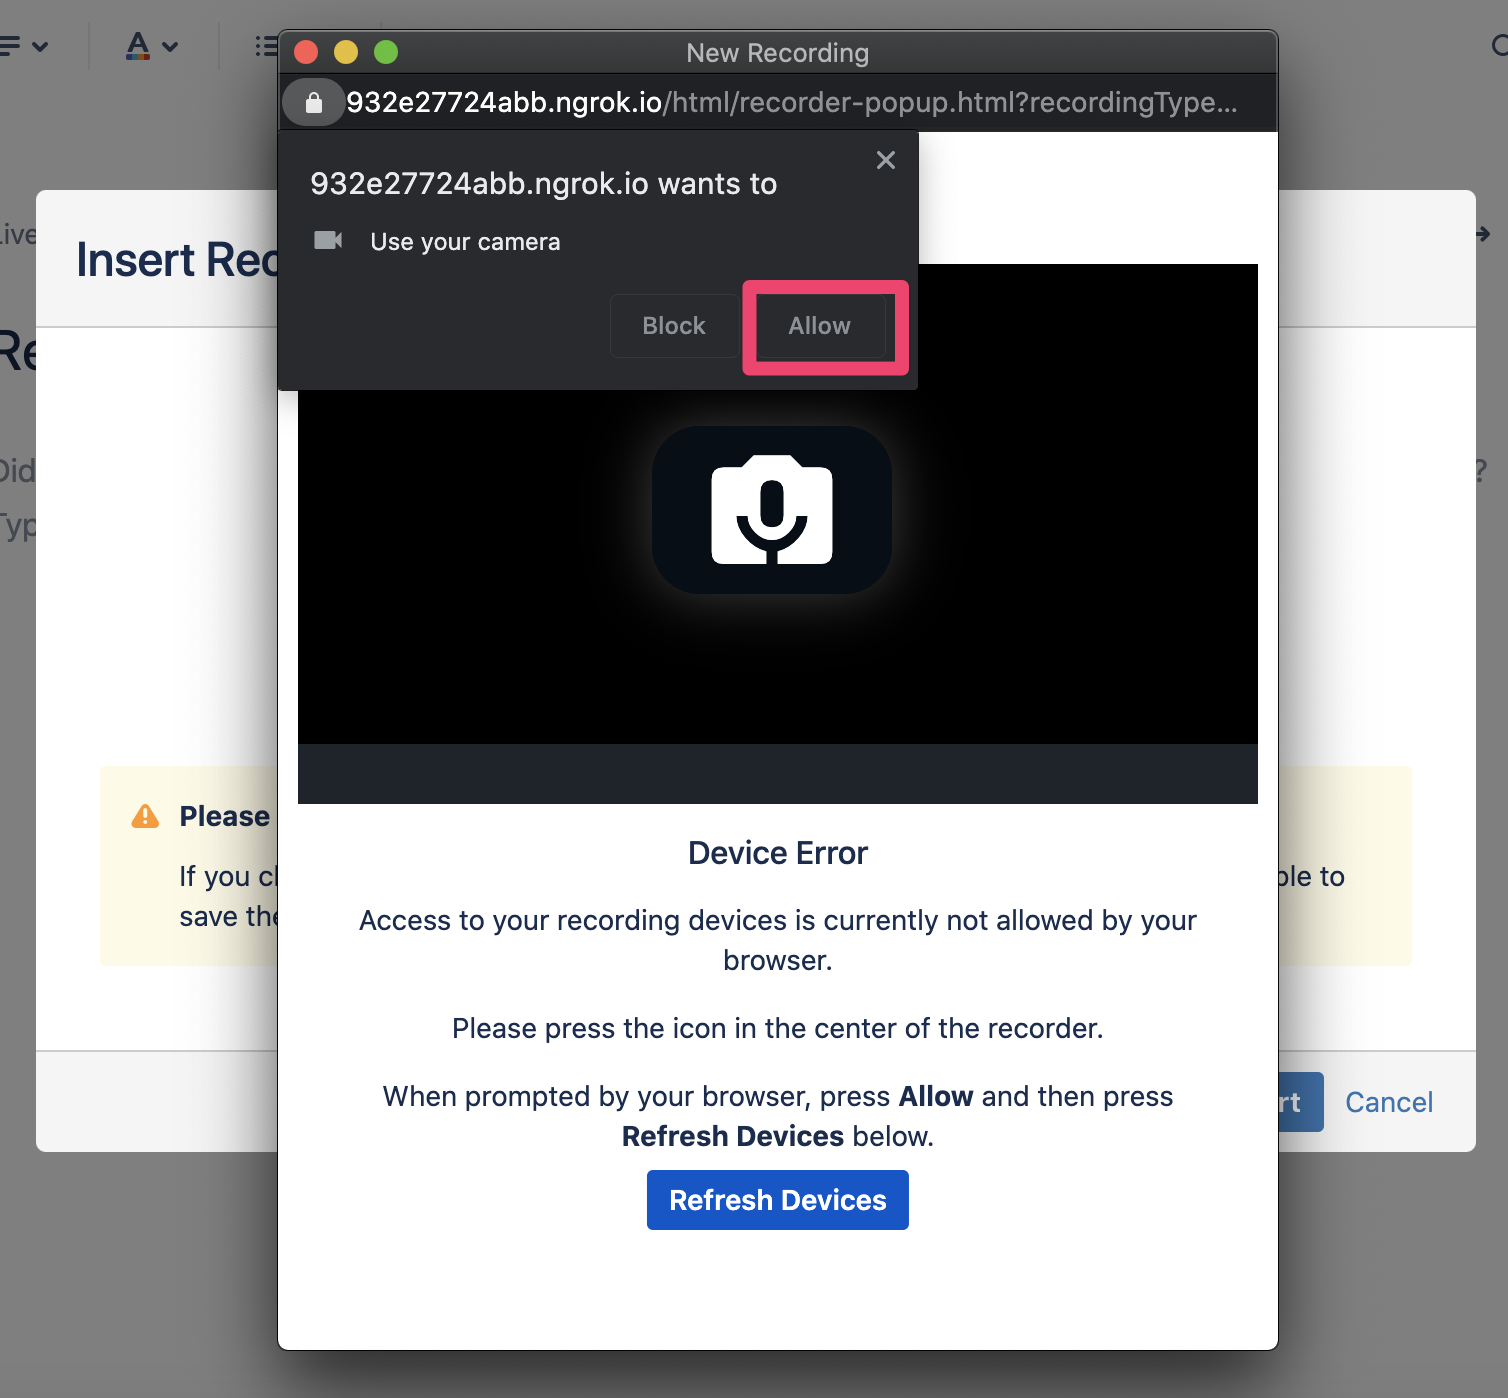
Click on the ‘Allow’ button to grant permissions to the recorder. If it does not happen automatically, click on the ‘Refresh Devices’ button to help the Recorder to recognize the permission change. In the case where the popup is not appearing, click on the camera icon in the top right corner of the window and allow the permissions manually.
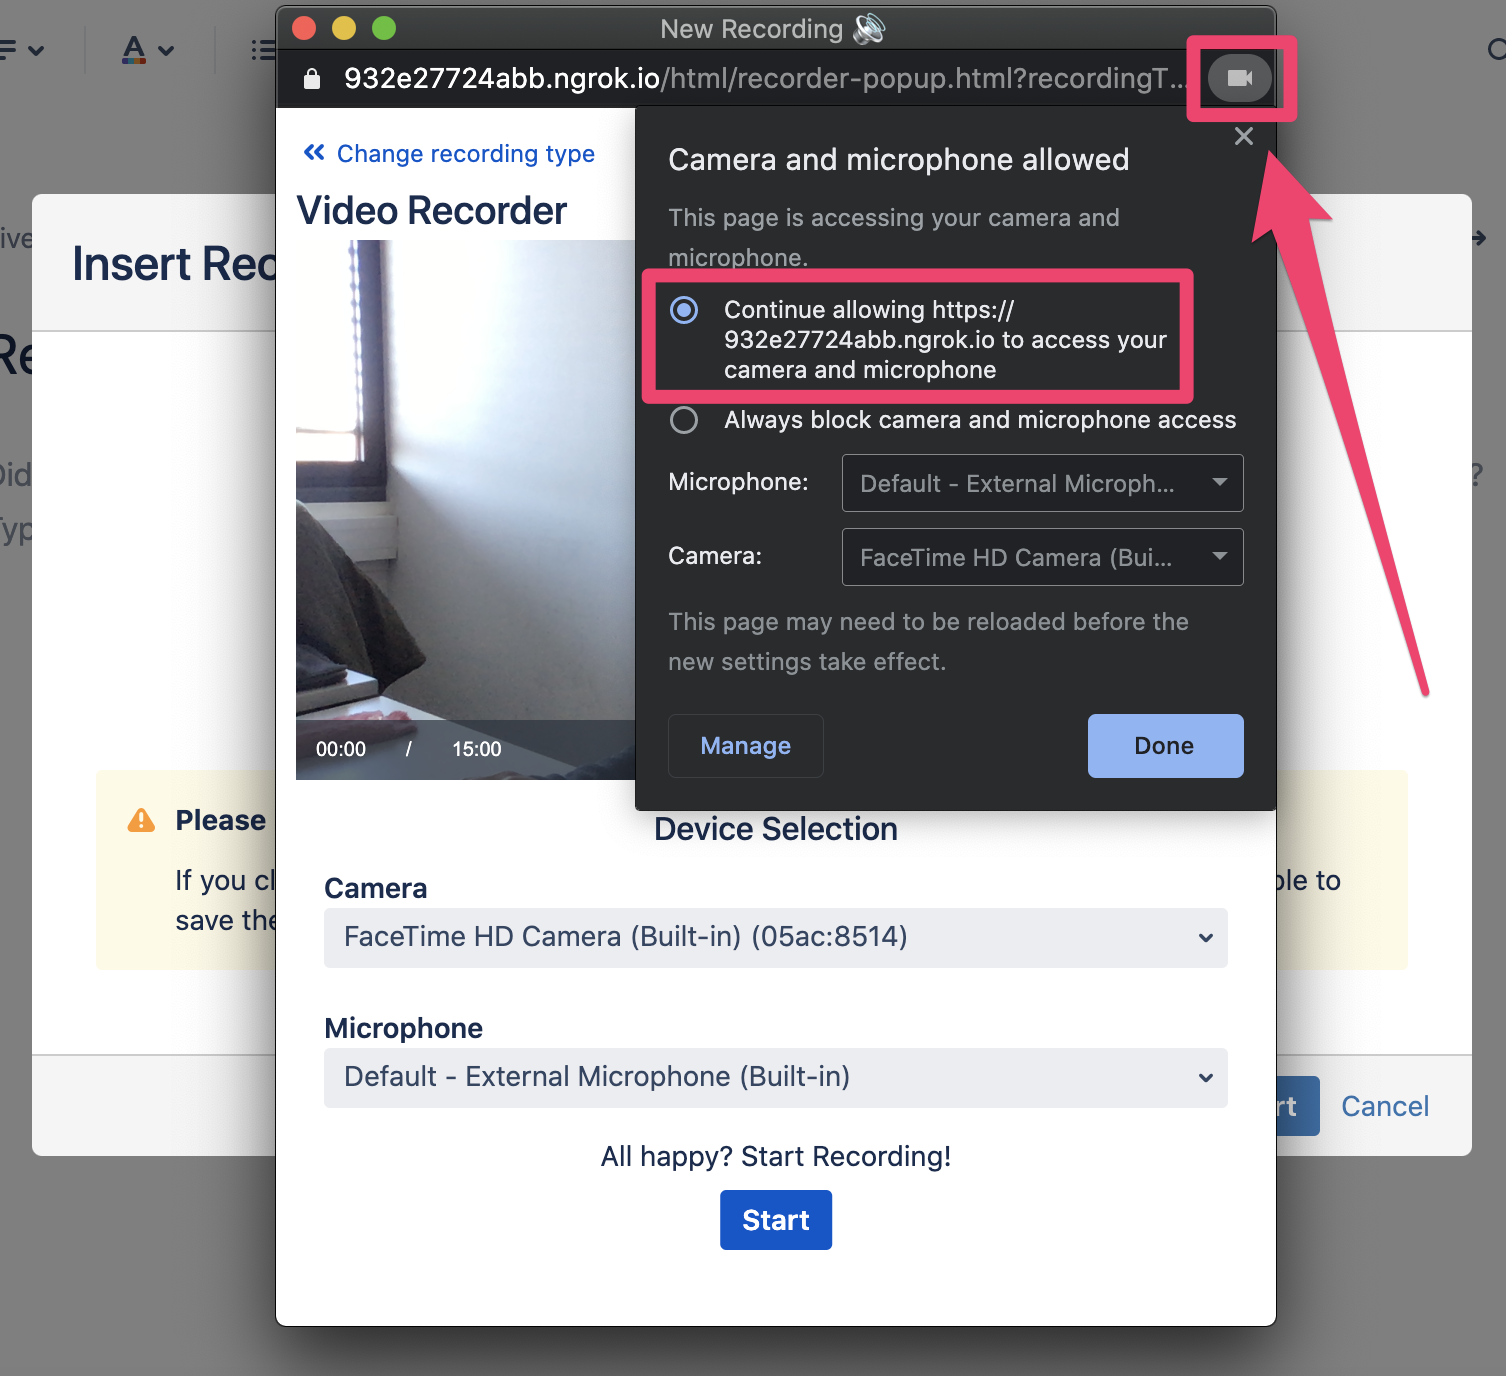
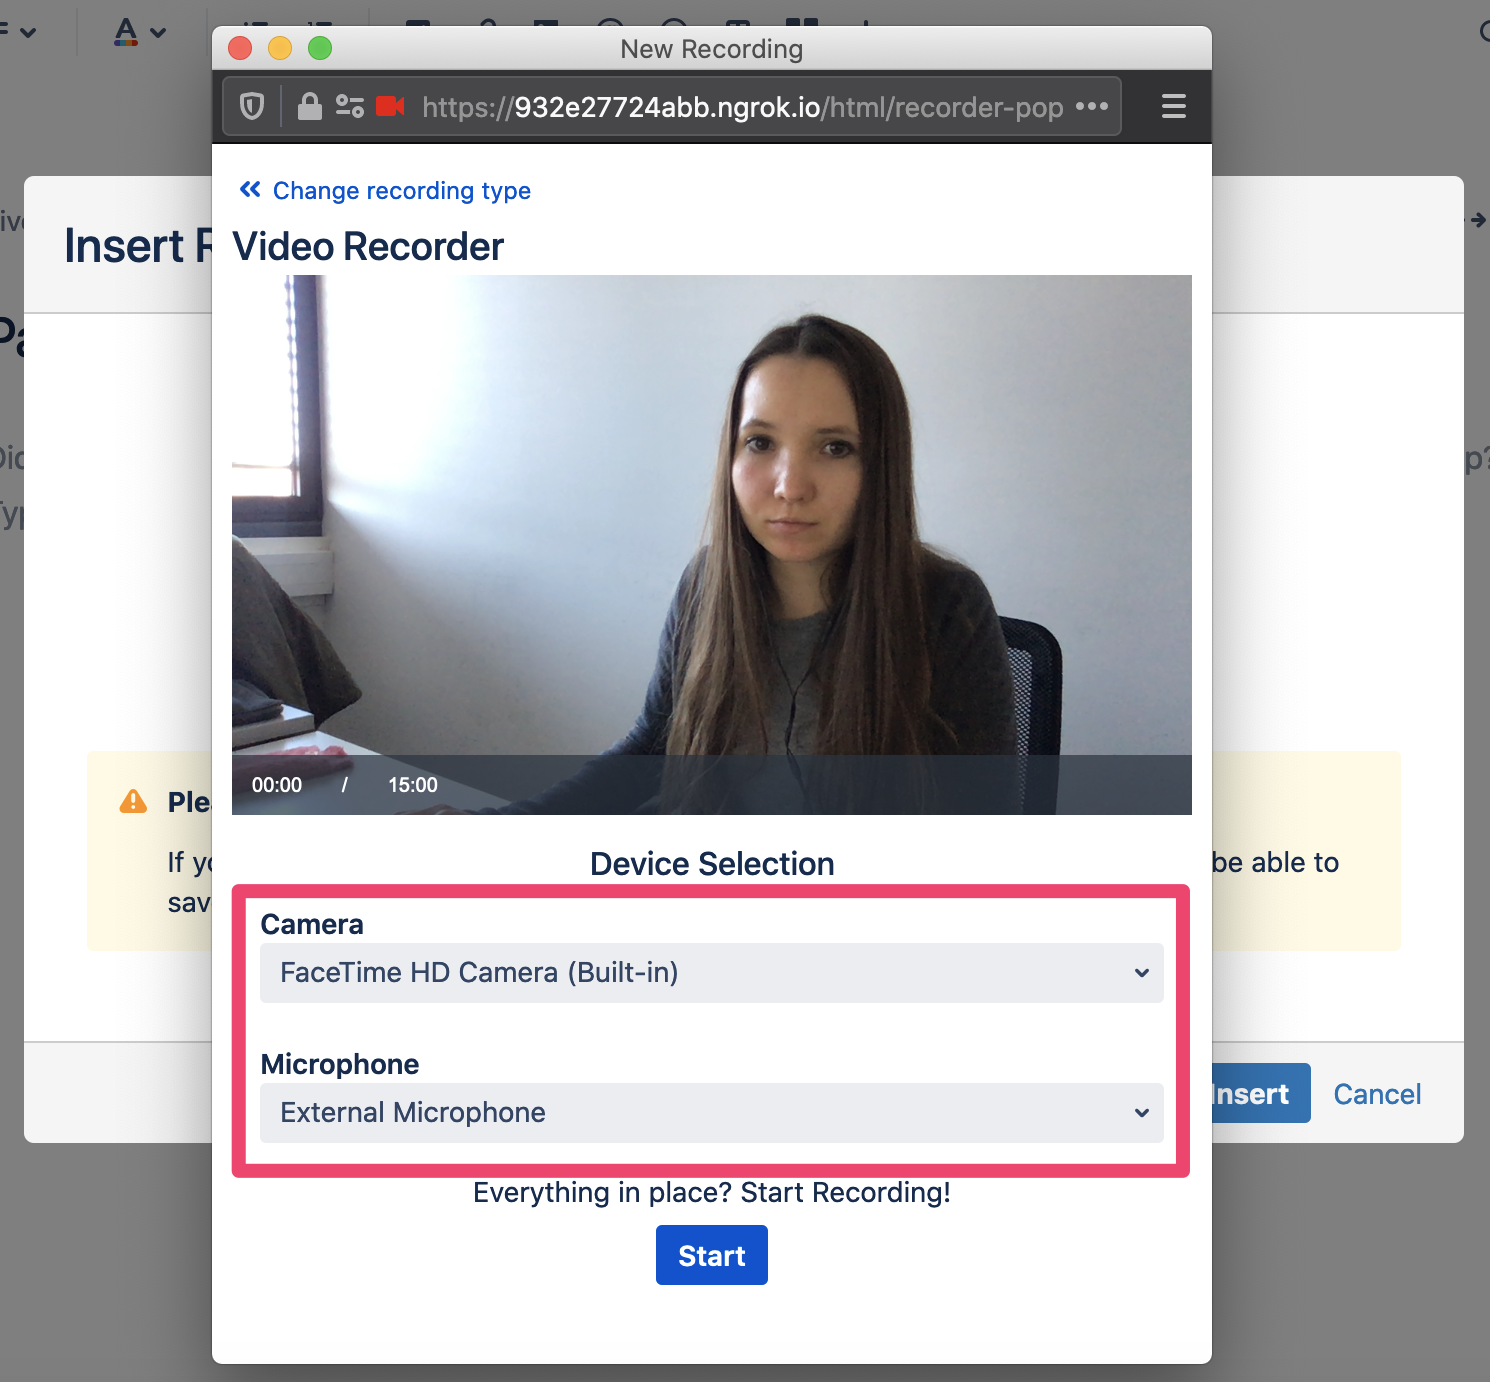
Once you have all the required permissions, you can select a specific camera and microphone that will be used to create the recording.
Select the recording devices you want to use and you are ready to start the recording!
Firefox
In Firefox, you are first requested to provide both camera and microphone permissions. You should see the following popup:

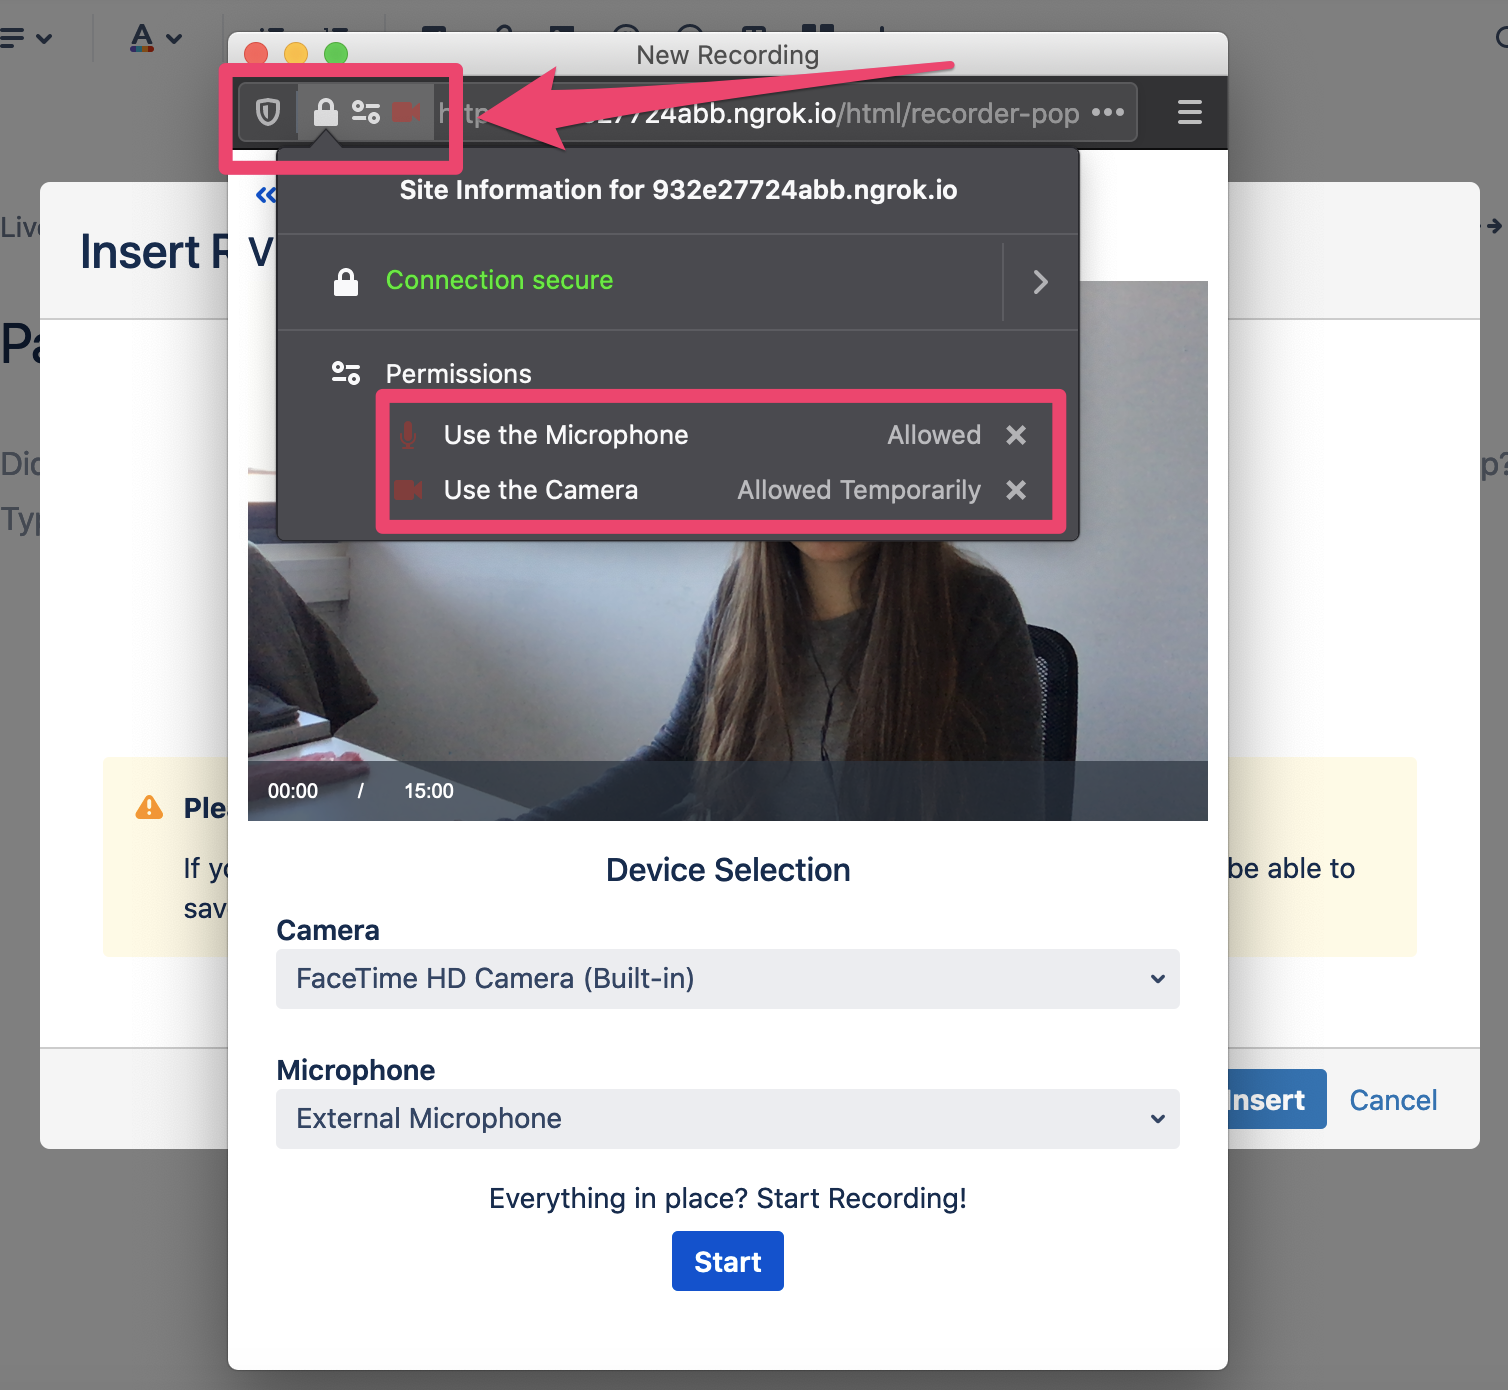
Once you approve the access, you should see your camera view in the recorder section. If it still does not work, check the permissions manually by clicking the lock icon in the top left corner of the window and make sure both camera and microphone options are allowed:
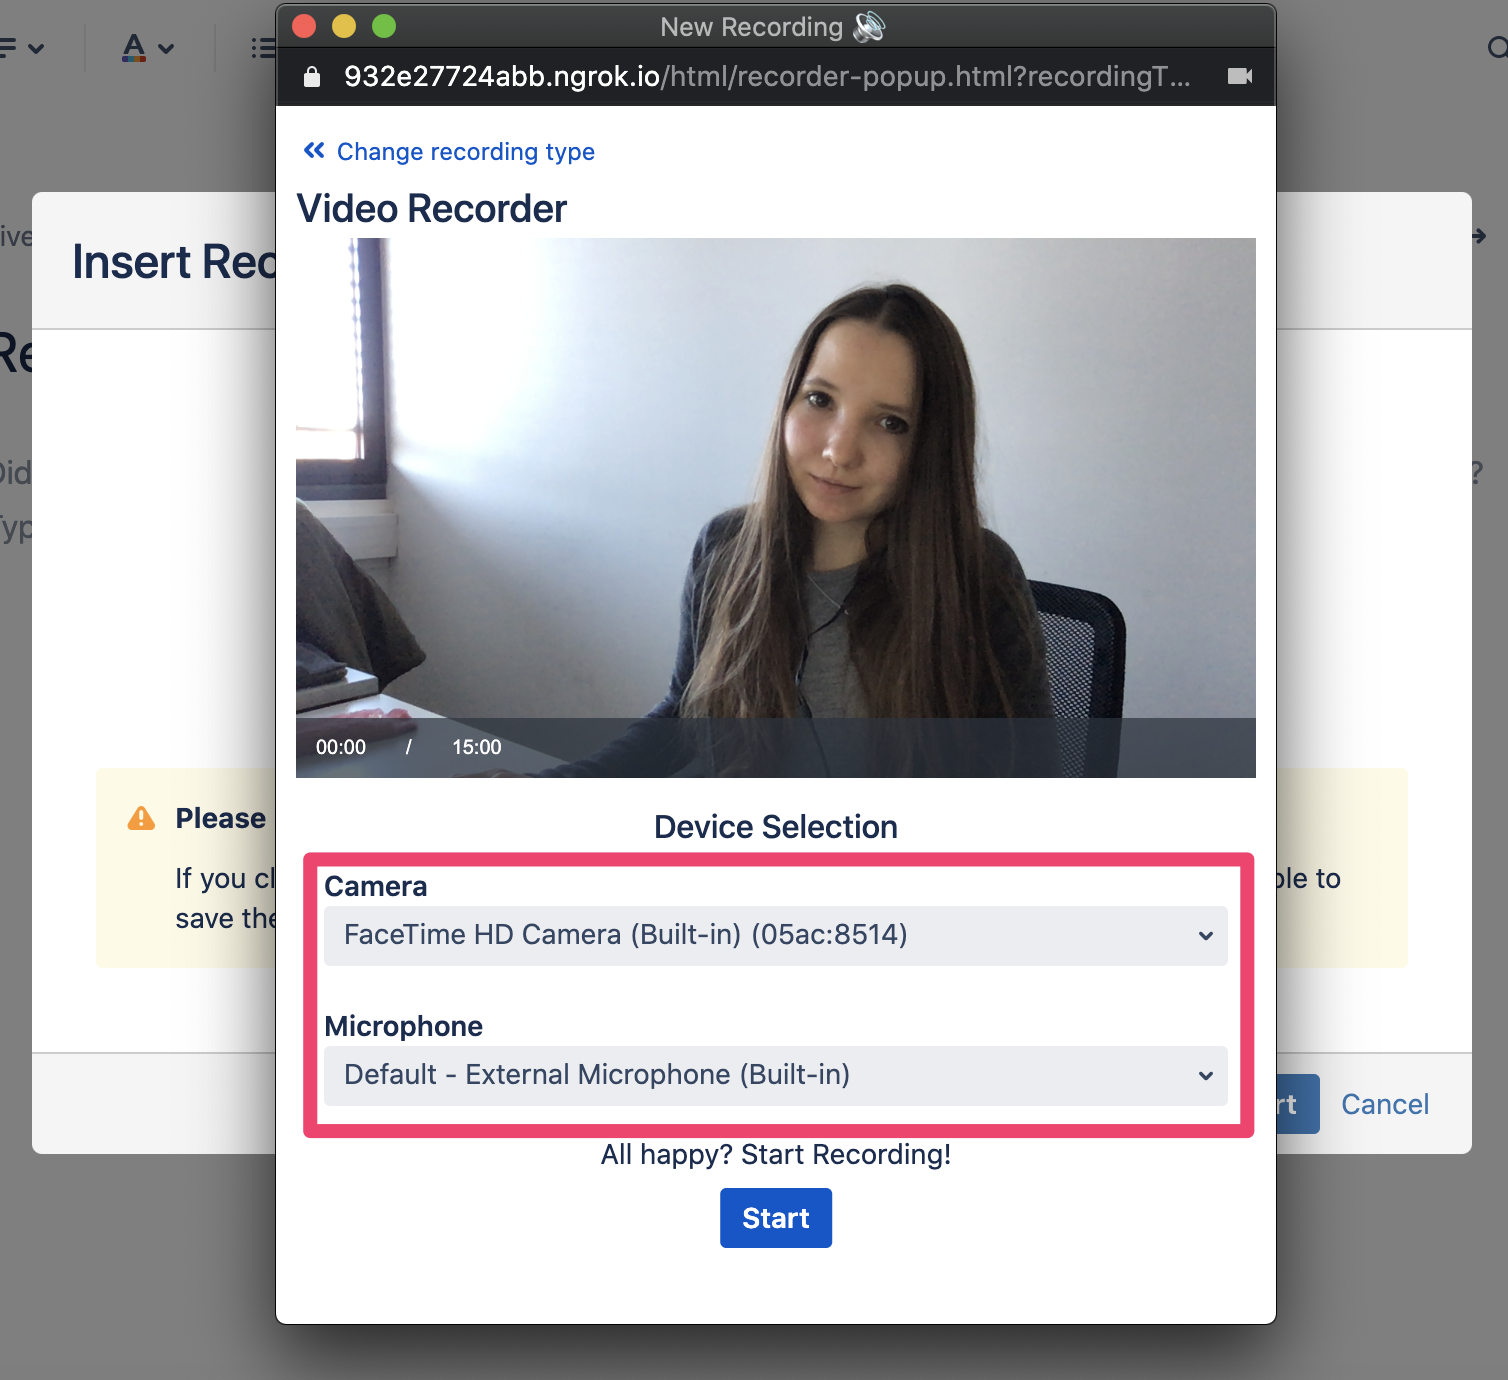
When everything is ready, you can select the devices you want to use for capturing. Then simply hit the ‘Start’ button and the recording immediately begins.
Starting recording
Once you hit the ‘Start’ button, the recording is started. while you record the video, you can stop it and resume it again at any time.
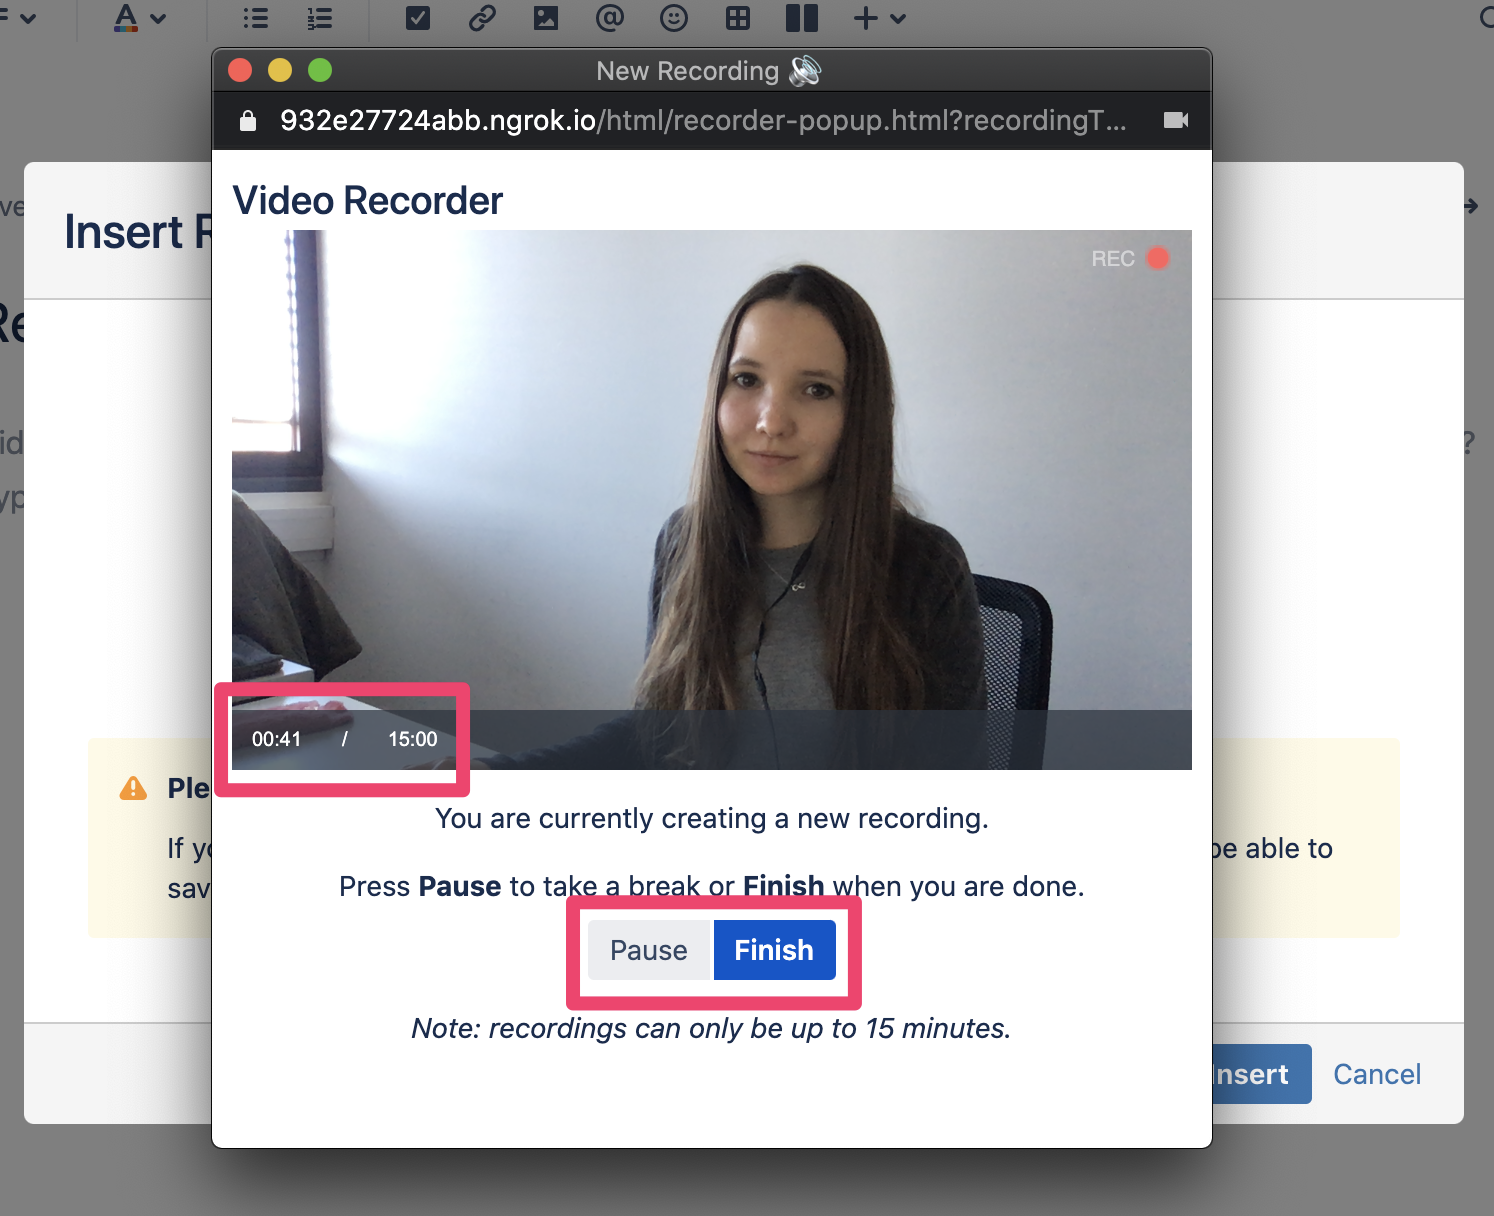
In the bottom left corner, you can see the current video time. Please, note that the maximum length of a recording is 15 minutes. After this time, the recording is automatically stopped.
When you are done with the recording, click on the ‘Finish’ button, which immediately stops the camera recording. Then, you are redirected to a screen that allows you to insert some recording details, such as the recording name and optionally a short description.
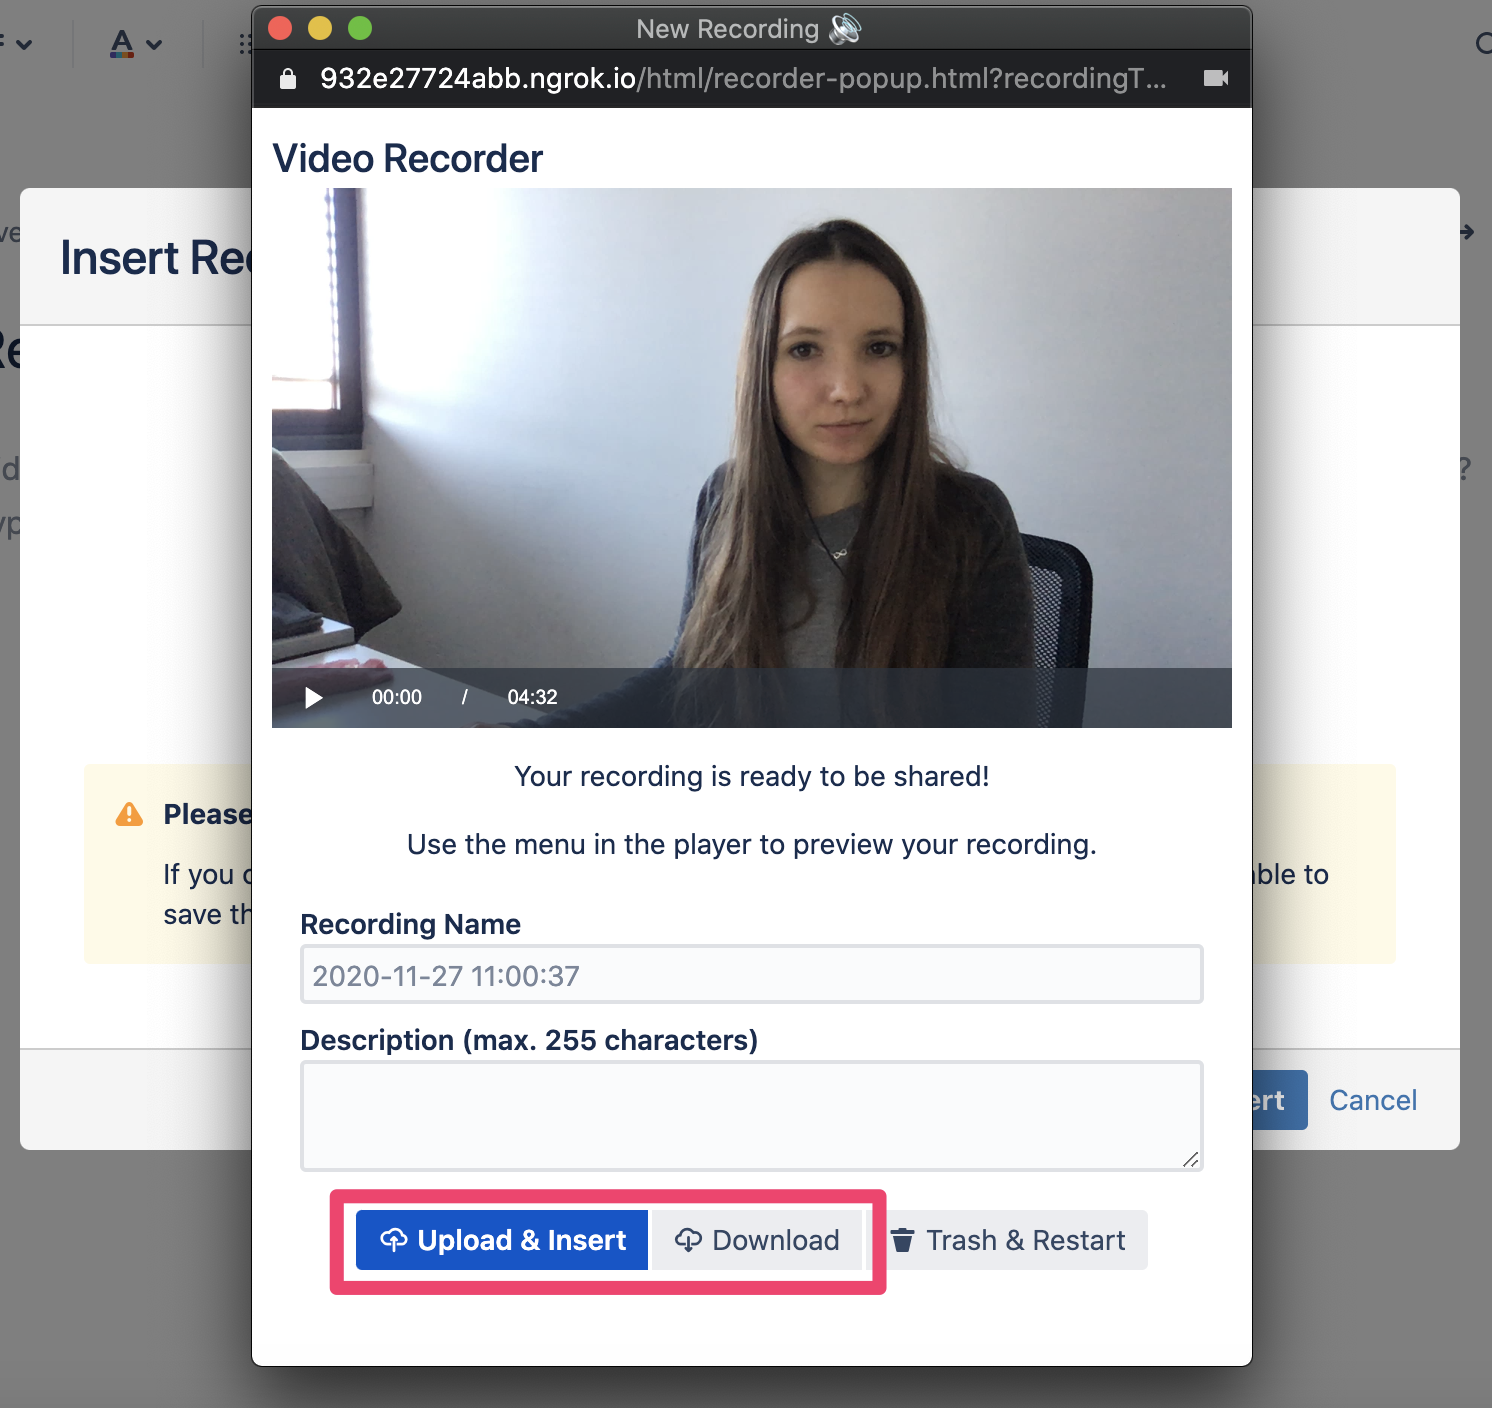
The recording name is used as the file name. Every recording has a .webm extension. The description is inserted as a video (attachment) comment. Please, note that this comment can contain a maximum of 255 characters.
Once you are done, you can either upload the video or download it to your computer. If you decide to upload it, the following popup appears:
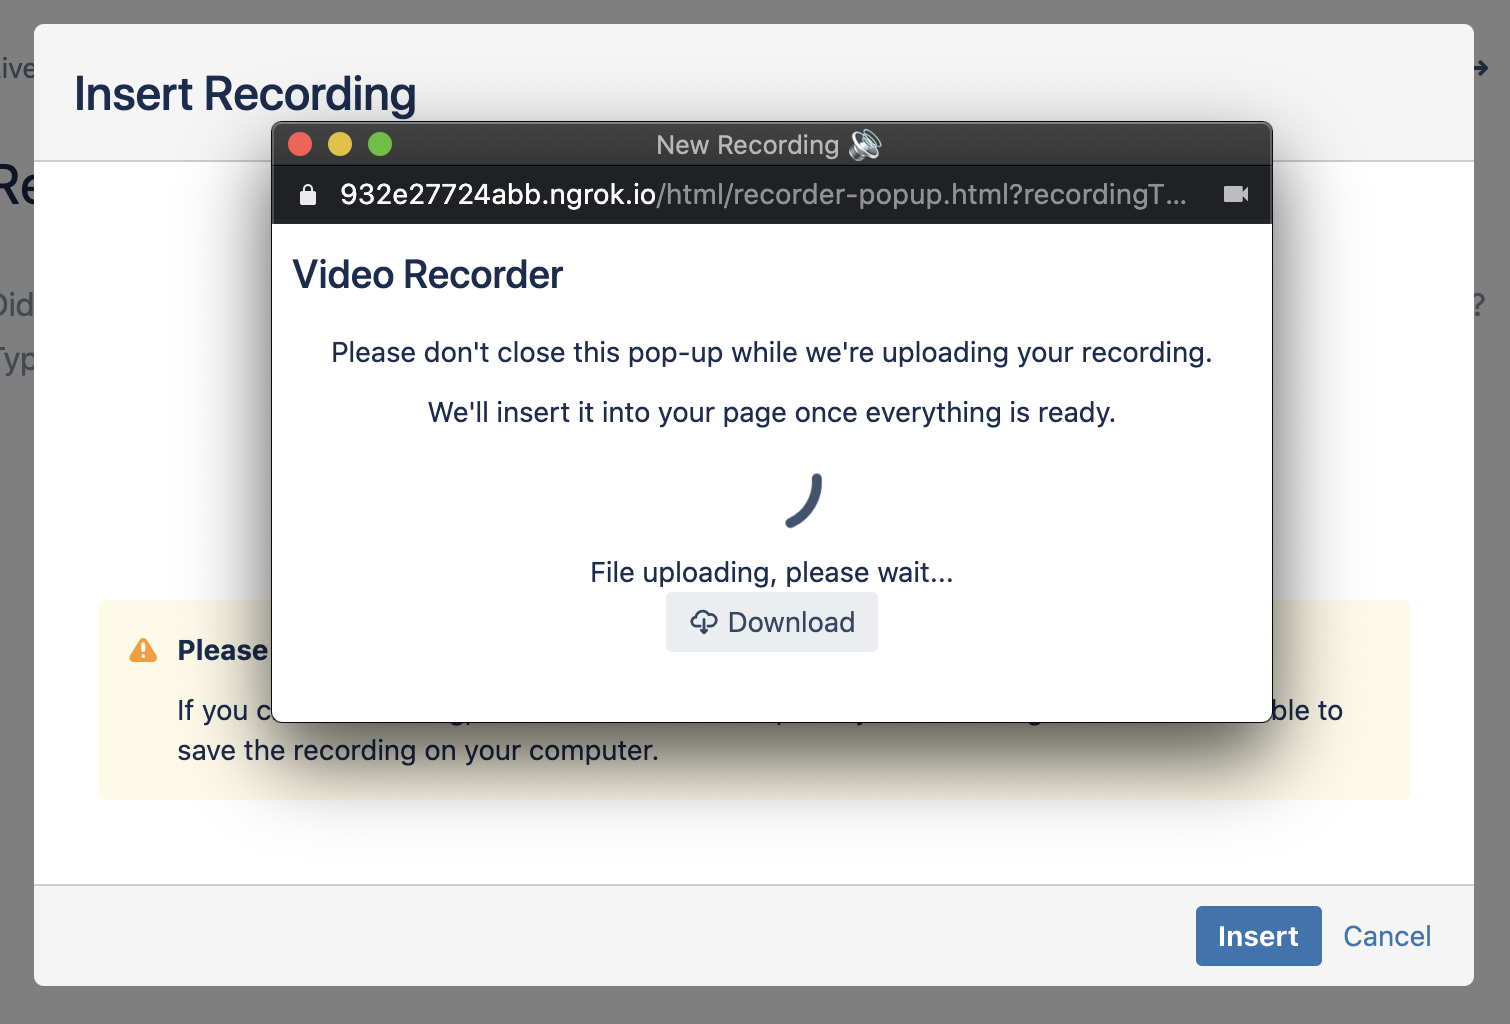
It might take a while before the upload is finished. Please make sure both the popup and the macro dialog remain open during the file upload.
When the upload is complete, windows are automatically closed and the video is inserted into your page.
You can also find the recording as a page attachment.

All recordings are automatically tagged with lively-recording and video-recording labels so you can easily search for them!