User Guide
Creating Branches
You can create a branch from any Confluence page, where you have create and edit permission. To create a branch, navigate to the settings part of the page in view mode. Click on “more” (three dots) and open page menu.

In the menu, select “Create branch” option.

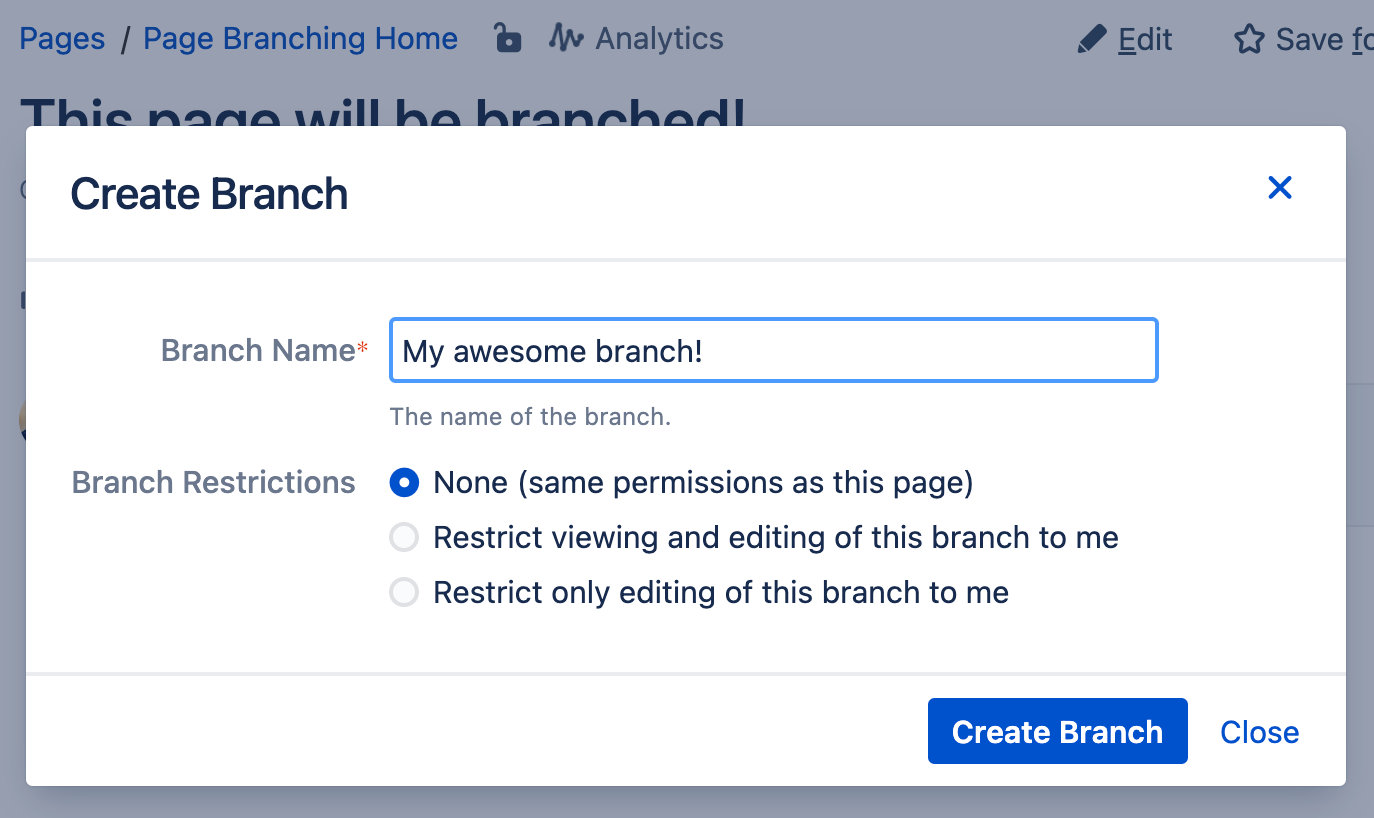
This option opens a dialog, where you can insert a branch name and also restrict its permissions.

Finally, click on the “Create Branch” button and your new branch is ready! You will be automatically redirected to the new branch.
You can access and manage your branches from the original page. Open the overview dialog by clicking on the “branches” label under the page title.


Working on Branches
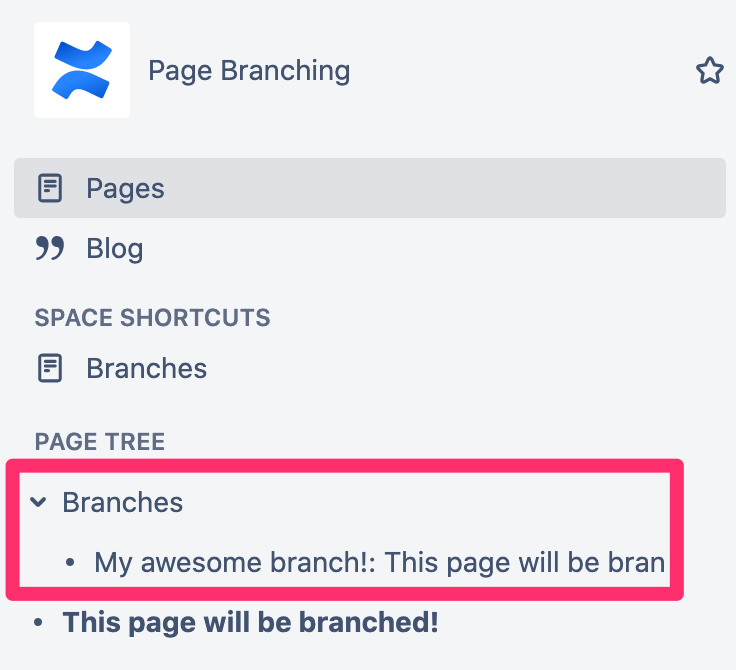
You can also find your branches in space root under page “Branches”. This page groups all branches created in the space, so you can access them from one place. Here you can do any changes, original pages are not impacted.

While working on your branches, you can track branch status. Branch status is a comparison between original page and the branch. You can find it under the branch title.

Clicking on the label displays branch overview.

To merge the branch back into its parent, click the merge button.
