Get ready to elevate your Confluence experience with dynamic and engaging content feeds using Lively Blogs!
Here are the first steps to add Lively Blogs to your Confluence page:
Using the Macro Browser:
-
Edit Page: Edit the Confluence page you wish to enhance with Lively Blogs.
-
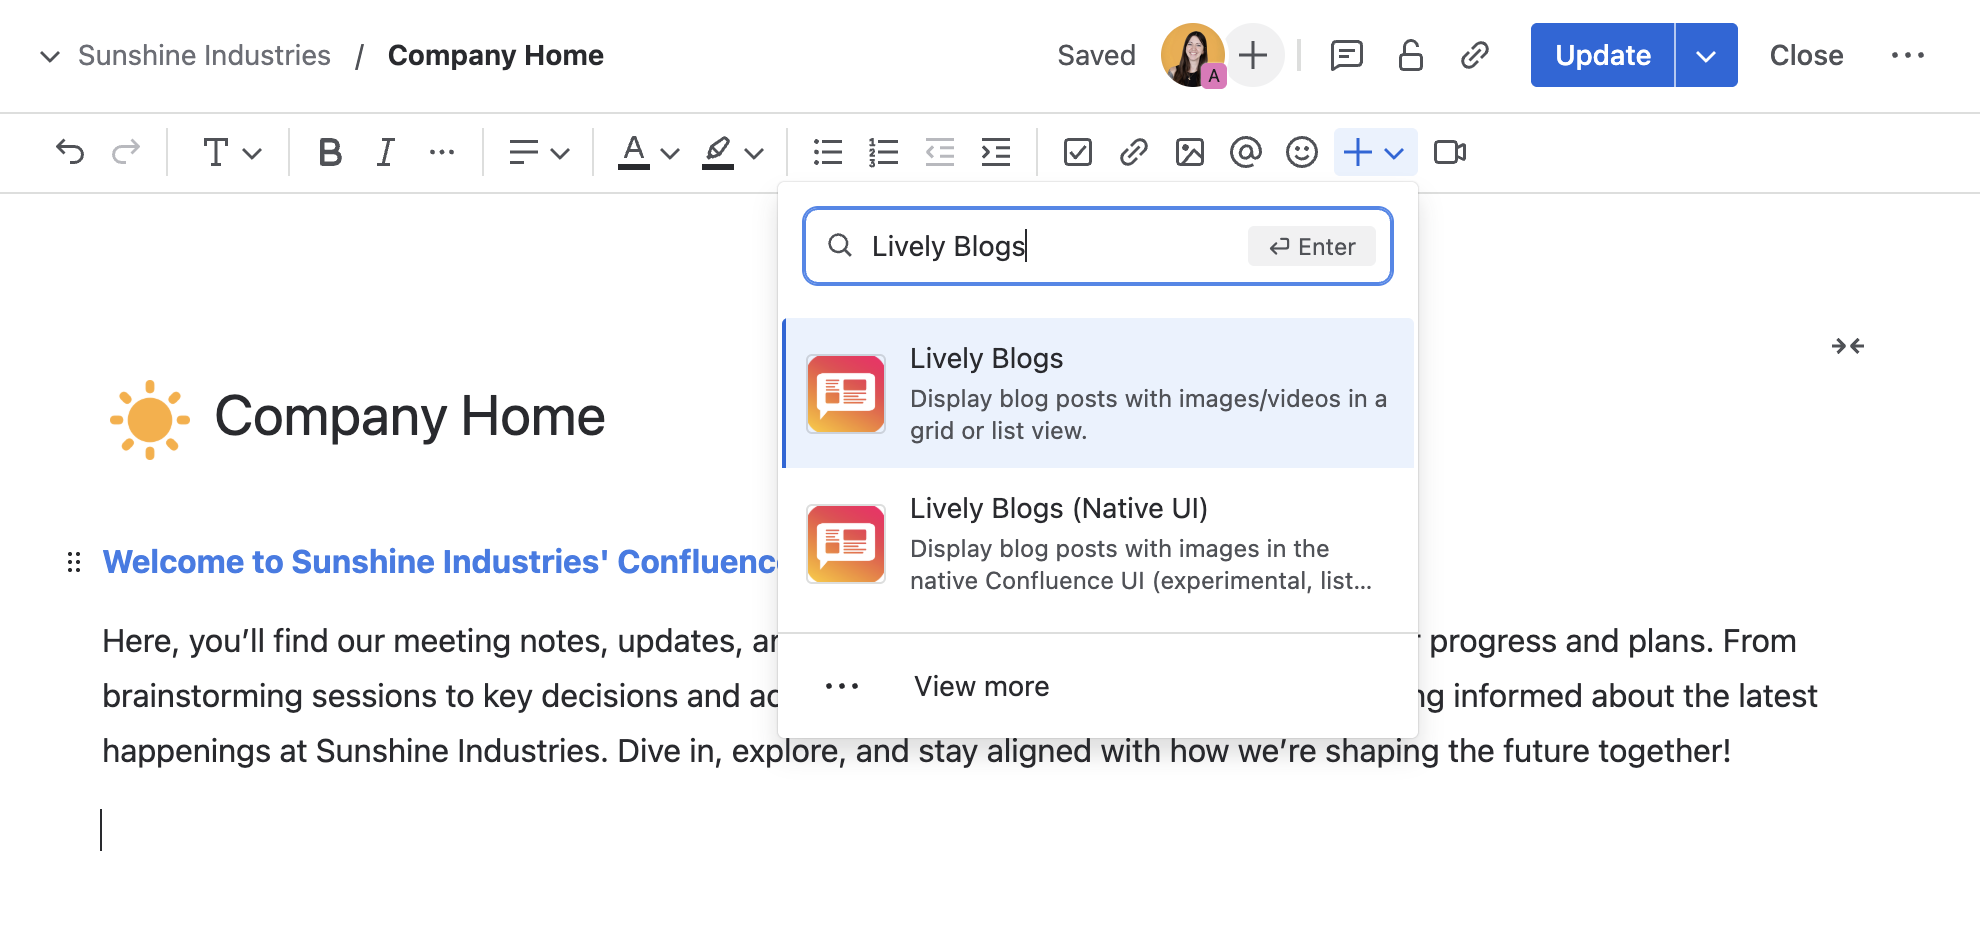
Insert Macro: Select '+' (“Insert Elements”) from the toolbar, search “Lively Blogs” and select it.
-
Authorize: If it's your first time using Lively Blogs, click 'Sign-in' to authorize.
-
Configure: Set up the macro parameters as needed.
-
Save: Click 'Save' to add Lively Blogs to your page.
Using the Slash Command:
-
Edit Page:Edit the Confluence page you wish to enhance with Lively Blogs.
-
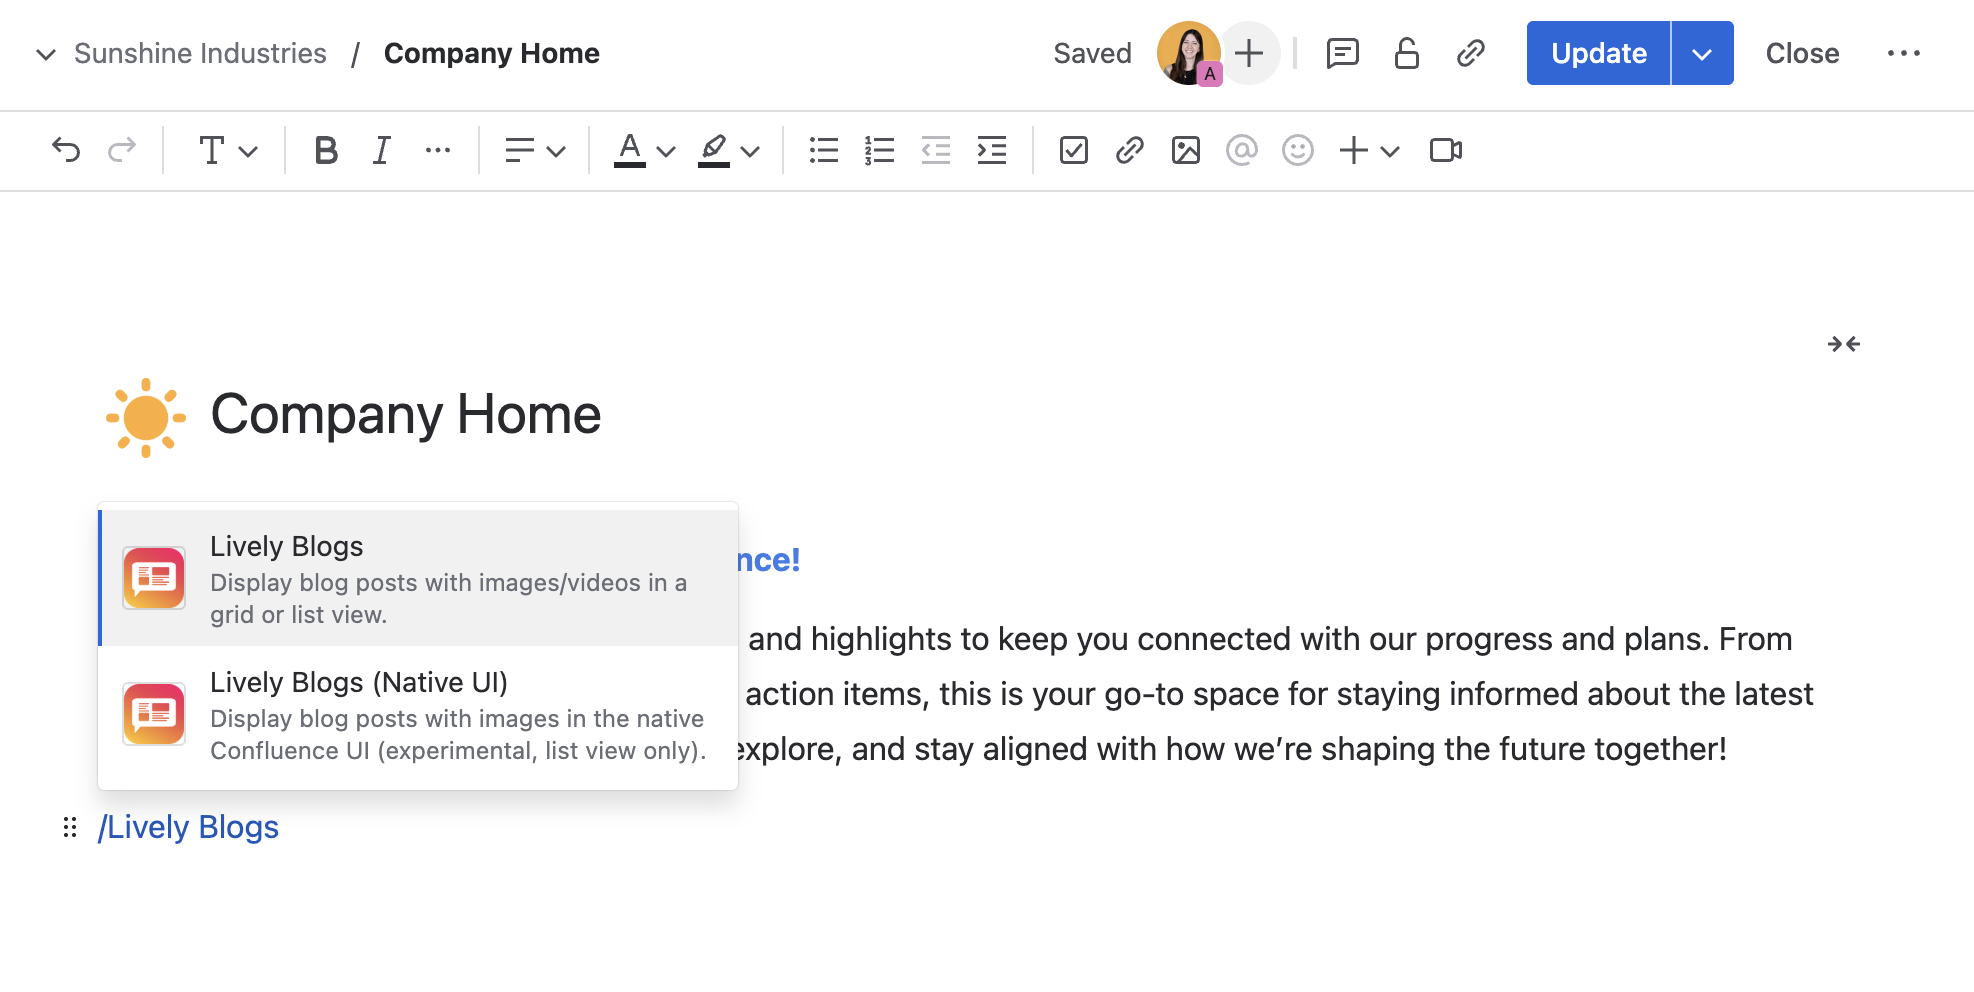
Type Slash: In Edit mode, type '/' to activate the slash command.
-
Select Macro: Begin typing “Lively Blogs” and select it from the suggestions.
-
Authorize: If it's your first time using Lively Blogs, click 'Sign-in' to authorize.
-
Configure: Set up the macro parameters as needed.
-
Save: Click 'Save' to add Lively Blogs to your page.
That’s it! You now have a beautifully organized feed on your Confluence page. 🎉 Want to explore more about Lively Blogs? Check out these features:
|
Feature |
Description |
|---|---|
|
Customize what kind of blogs or pages are displayed on the Homepage feed. |
|
|
Pin your important blogs and pages at the top to keep important content visible and prioritized. |
|
|
Customize the appearance of your Homepage Feed and Macro with image and video teasers, different layout options or by showing or hiding certain post elements. |
|
|
Learn everything about the different macros that come with Lively Blogs and how to configure them. |
|
|
Create personal subscription rules and see matching blog posts and pages on your My Feed page. |
|
|
Not only display blogs in an organized feed, but also pages. |
|
|
Use Read Later whenever you want to park a blog post or page and return to it later. |